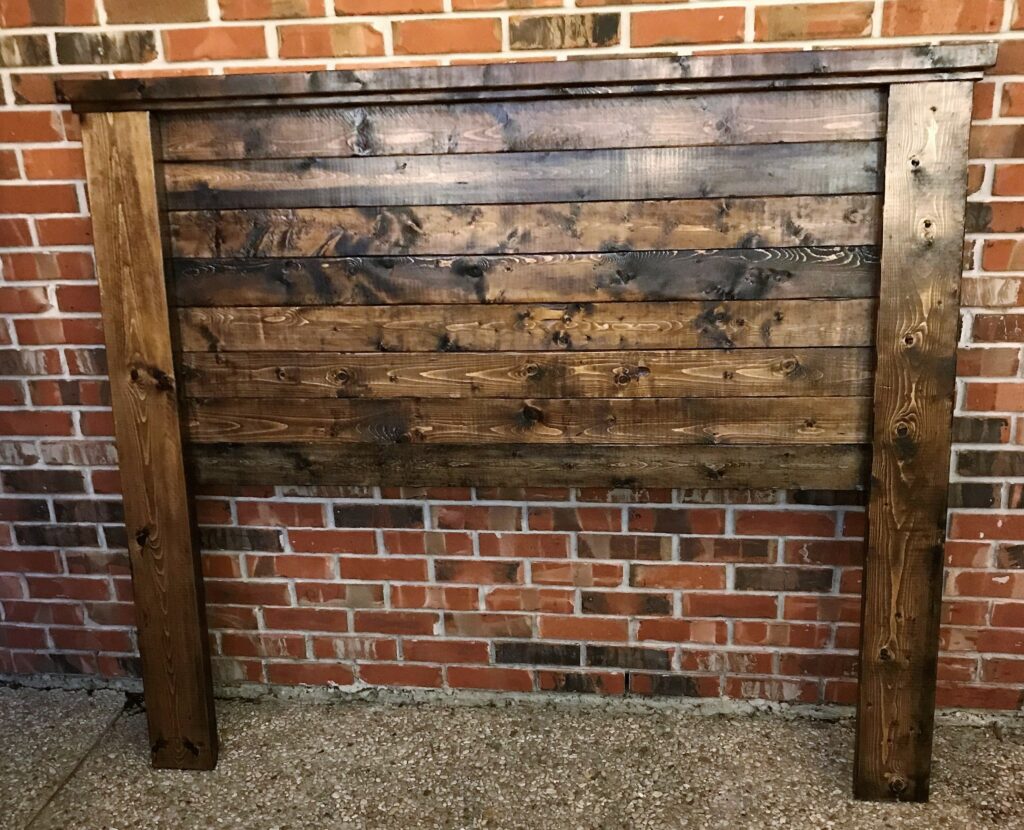
An important part of living a simple life is doing things yourself so you know it’s done right and the way you want it. That was my approach while constructing our DIY rustic headboard build for our queen size beds. We love the look of stained wood and feel it really compliments the bedrooms where they reside. Being this is a rustic look, don’t worry about the most expensive cuts of lumber. Pick wood that have some character. Constructing the headboard is quite easy and straightforward even for a beginner carpenter. The same plan can be adjusted if you want to build this for other size bed frames. So, if you are ready, lets get started.
Cut Sheet
To build this headboard for your queen bed, you will need the following:
| 1 – 2 x 4 cut 65 inches long | 4 Carriage bolts, with nuts and washers (5/16”) |
| 8 – 2 x 4’s cut 63 inches long | 1 drill bit for carriage bolts (3/8”) |
| 2 – 2 x 6’s cut 53 inches long | Sandpaper (220 grit) or electric hand sander |
| 1 – 1 x 3 cut 64 inches long | Dark Walnut MINWAX Stain or one of your choice |
| 2 ½ inch wood screws | Scrap cloth to apply and remove stain |
| 1 drill bit slightly smaller than wood screws | MINWAX Fast drying Polyurethane Clear Satin |
| Cordless Drill | Cheap brush to apply Polyurethane |
| Carpenter Square, Speed or combo |
Instructions:
Cut Wood
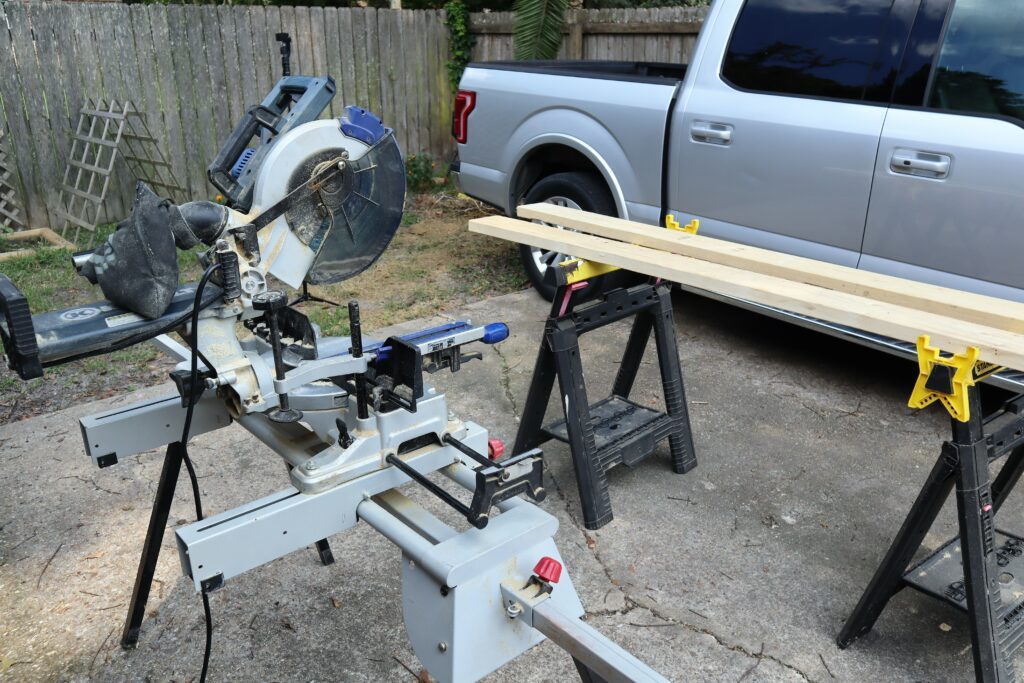
To start off, cut all the wood needed for this project. I personally use a Kobalt 7 -1/4 Sliding compound miter saw but any kind of saw would work.
- Use the sandpaper or an electric hand sander with dust collector to clean up the cut edges from any splinters.
Assembly
- To assemble, lay face down your 2 x 6’s. Place one of you 2 x 4’s cut at 63” across the top of the 2 x 6’s as shown:
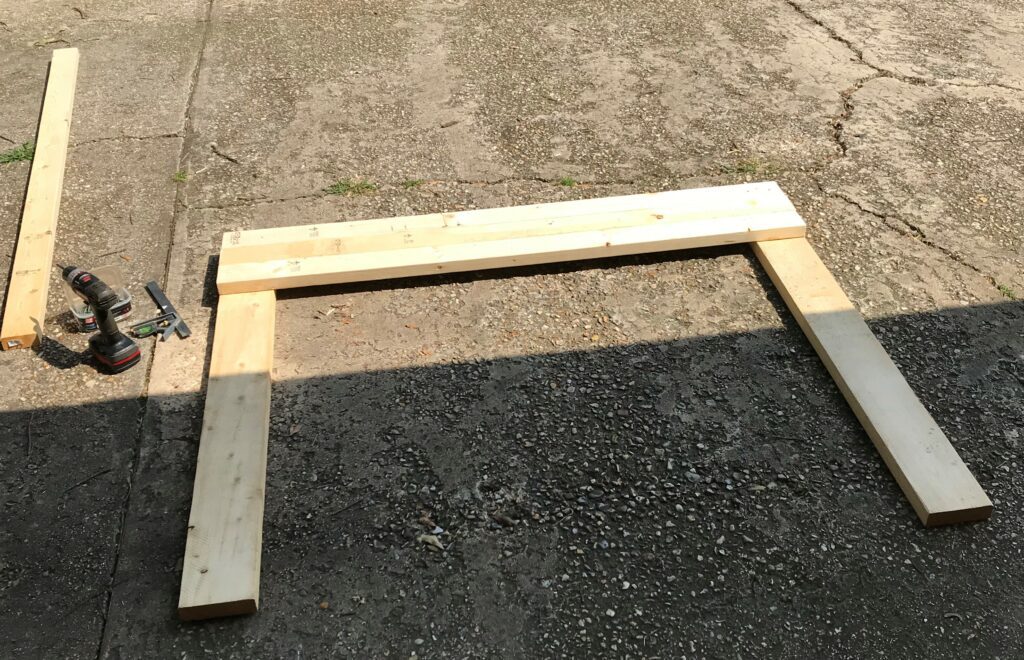
- Use your carpenter’s square to ensure 2 x 4 is squared up with 2 x 6’s. Use wood screws to install 2 x 4 to 2 x 6’s. Install the remaining 6 x 2 x 4’s.
- Now you are ready to install the top pieces. Take you 1 x 3 board cut at 64 inches and place it so that it extends on the sides by ½ inch and even with the front of the 2 x 6.
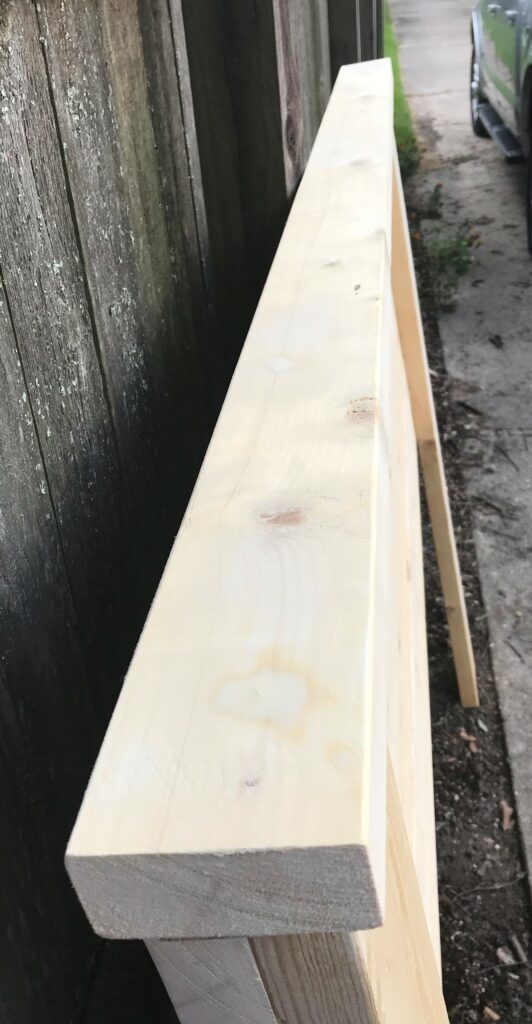
- Next, screw down the 2 x 4 cut at 65 inches long, lined up ½ inch over the sides of the 1 x 3, and 1 inch forward of the 1 x 3. Make sure you keep the screws back so you stay within the wood. If you locate the screw too much forward, it will go through the top 2 x 4, then the 1 x 3, but miss the 2 x 4 below it allowing the bottom of the screw to be seen from the front. Yes, I screwed this up on my first headboard, so go ahead and laugh.
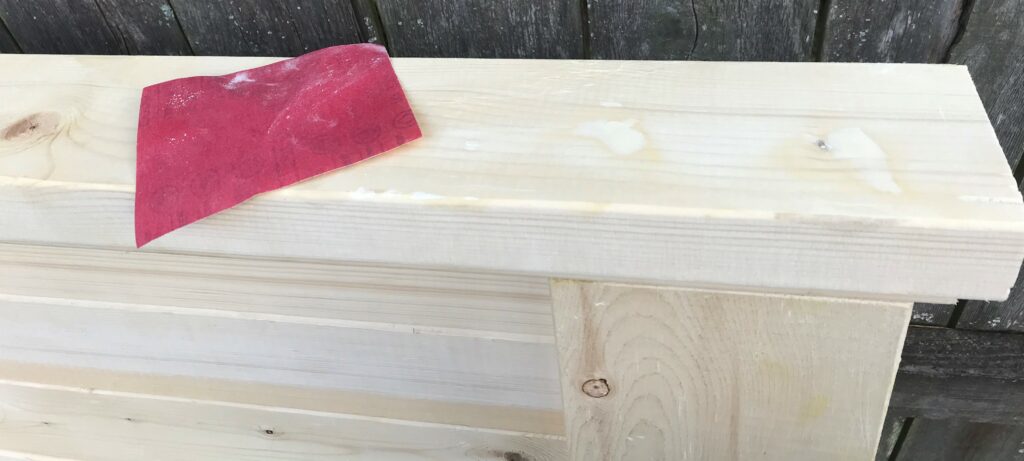
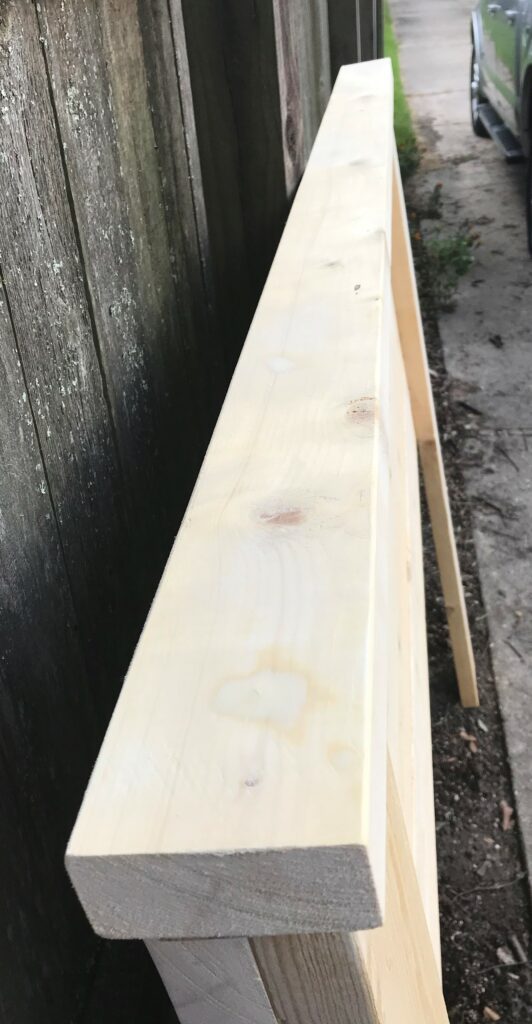
- Next, apply wood filler to the holes where you screwed down the top. Once the wood filler dries, use 220 grit sandpaper to smooth off the wood filler to the wood surface. You won’t even notice it once you stain and polyurethane it.
Apply Stain
- Before you apply the stain, brush on some “pre-stain” which allows the stain to be more consistent and helps bring out the character of the wood.
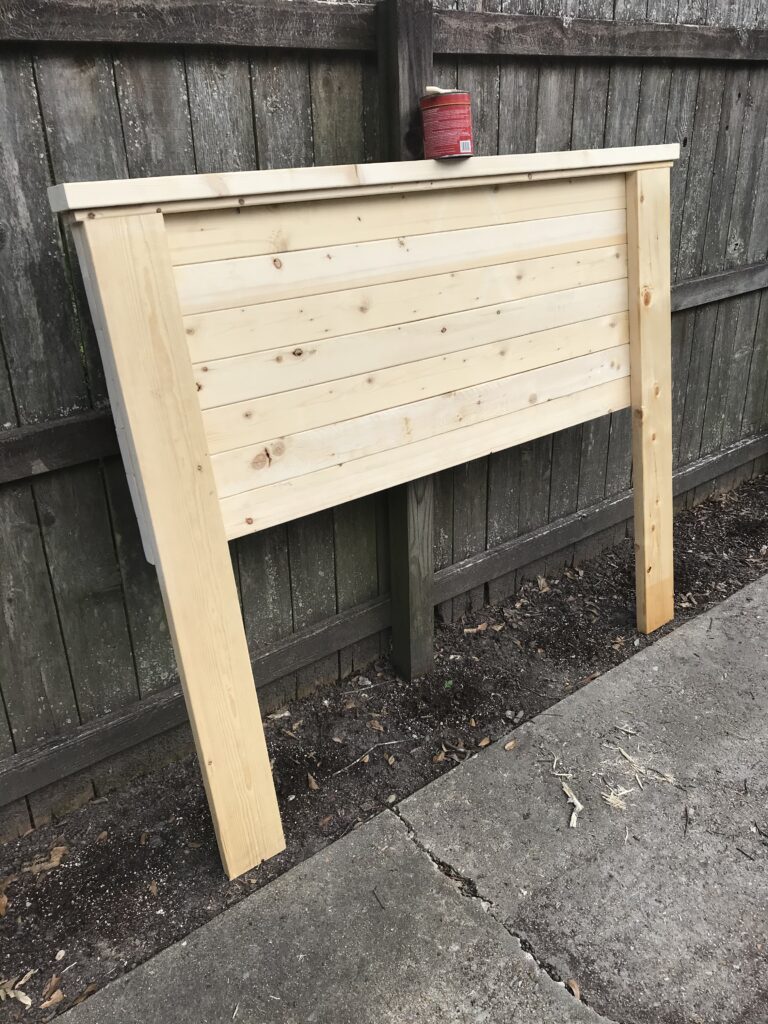
- Our next step is to apply the Minwax Dark Walnut stain. Use a scrap rag like a cotton t-shirt. Dip the cloth in stain and apply over the surface of the wood. Don’t over apply but put adequate stain to cover all the wood. You may need to work it in a bit more in areas of the wood like knots and in between boards. I typically work in sections covering the sides, top, then front. You do not have to apply too much at a time. Just make sure you get stain everywhere. Apply it in sections and use a clean scrap rag to wipe off excess stain before it dries. Let it dry 4 to 6 hours in between coats.
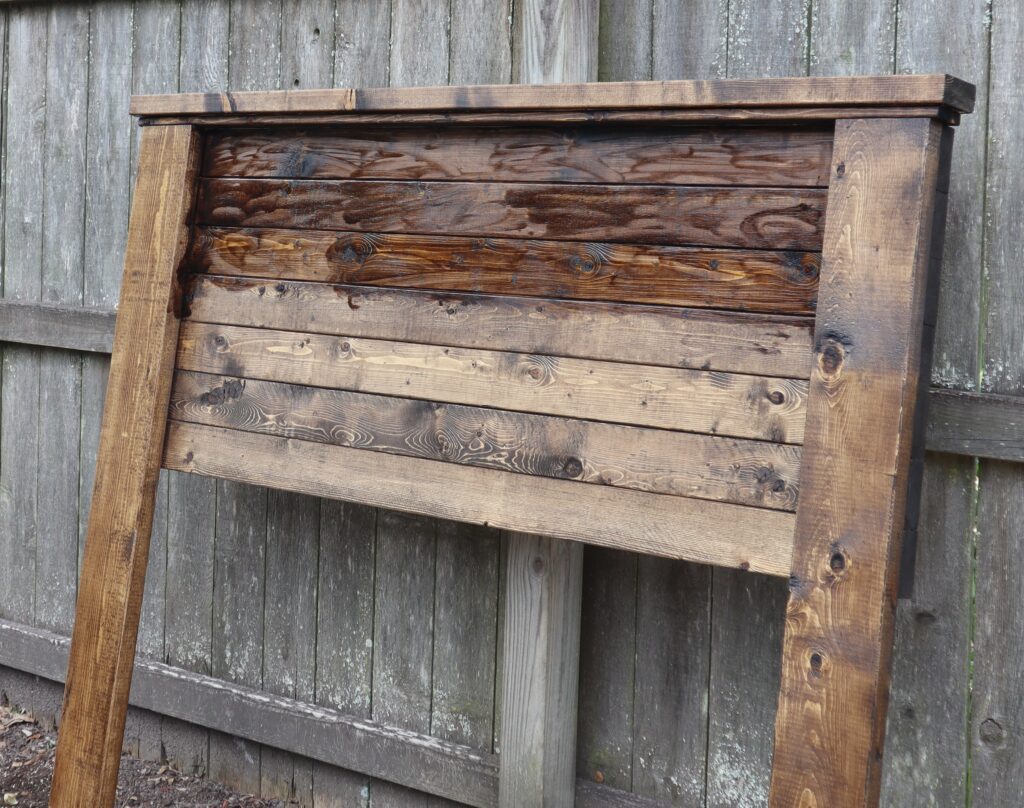
- Apply another coat of stain and remove excess. Apply as many coats of the stain until you get the desired color or stain your are trying to achieve.
Apply Polyurethane
- Next, use a cheap brush to apply the Minwax Fast Drying Polyurethane. Just make sure you are looking for any bristles that may come off and remove. Let dry for 4 – 6 hours.
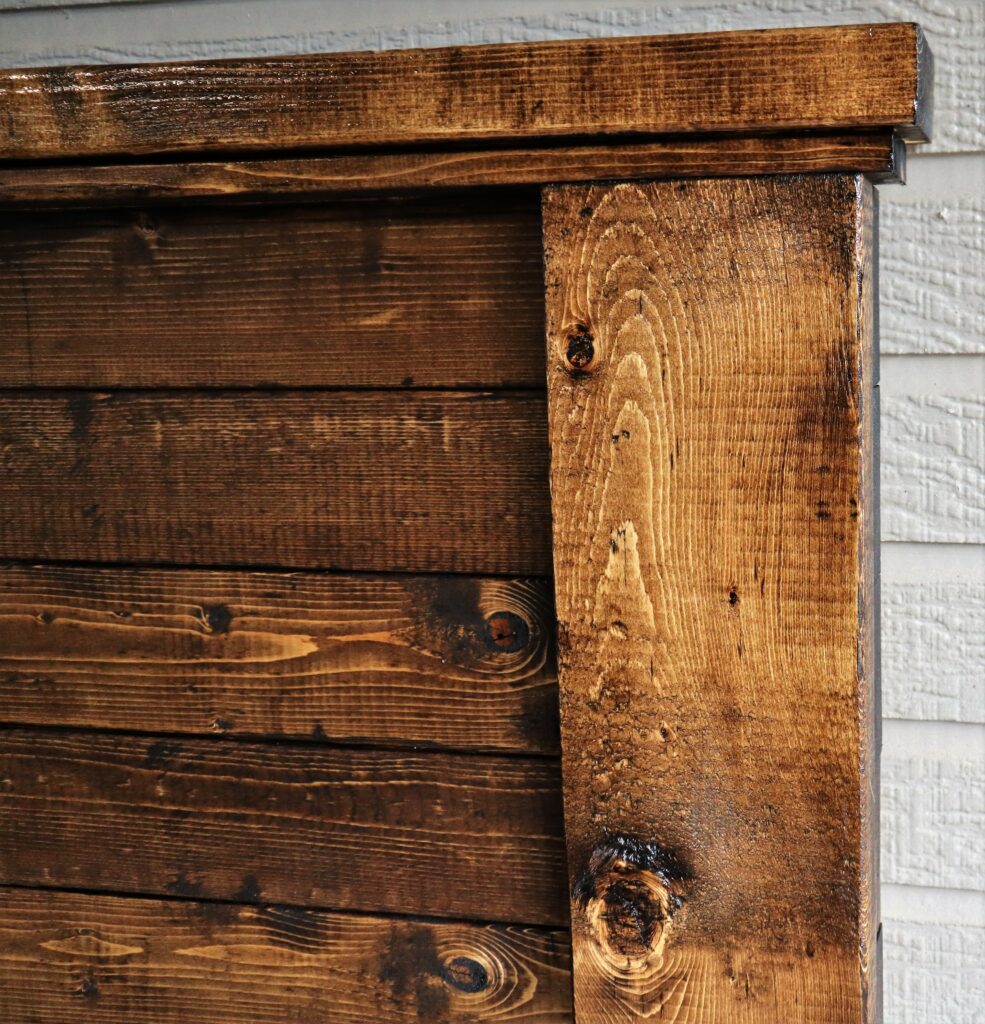
- Use 220 grit sandpaper and lightly sand the polyurethane to remove bubbles and ensure smooth application of the polyurethane.
- Apply a second coat. I usually stop here at 2 coats.
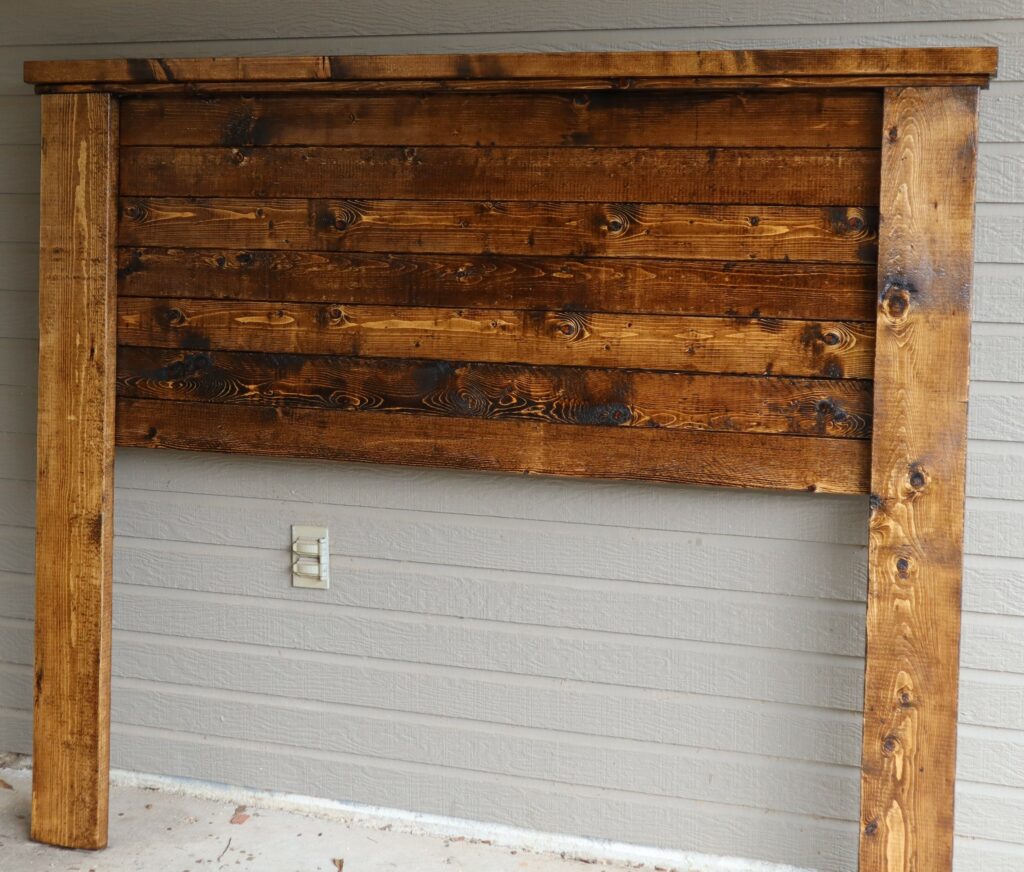
Assemble Headboard to Bed Frame
- Next, take you headboard and stand next to the bedframe and measure out where to drill bolt holes in the 2 x 6 legs. You can do this with a tape measure. The 2 x 6’s are 63″ from outside of one to the outside of the other. You would measure center of the bolt hole slots on the bed frame which in my case was 59″. So 63″ minus 59″ is 4″. Therefore, the holes would need to be drilled 2 inches from the outside of both 2 x 6’s. The slots were also 4 3/8″ and 7 3/8″ up so I mark the board there and drill. If not comfortable with using the measuring tape, place the headboard where it will go and mark on the wood where to drill the legs.
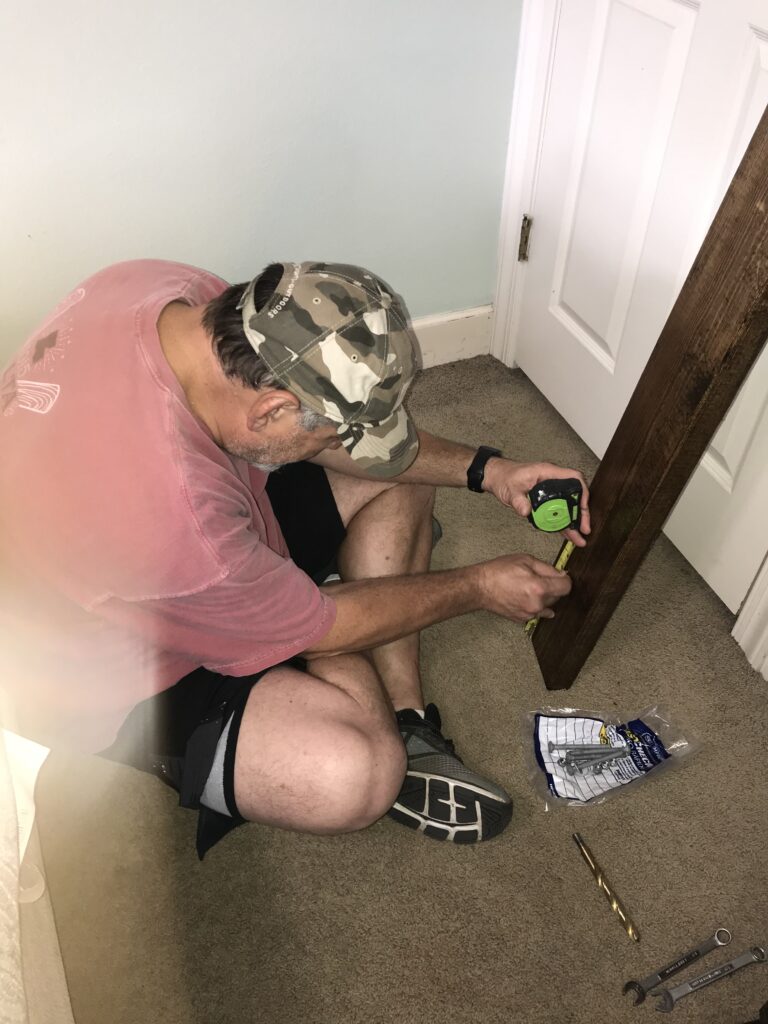
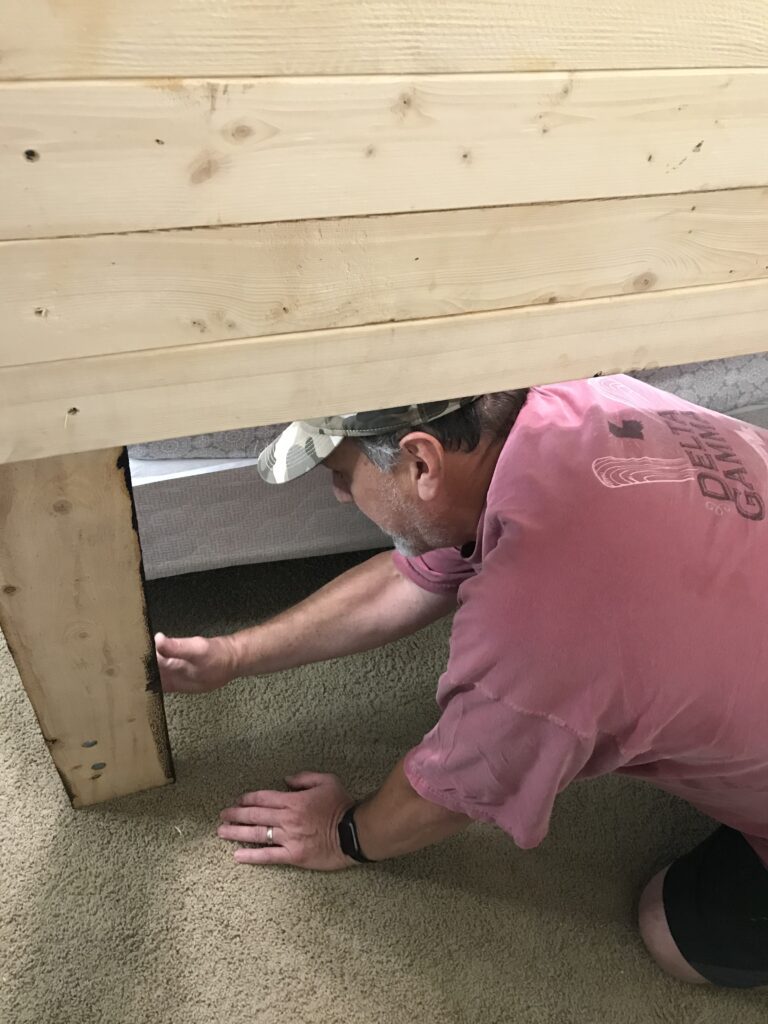
- Drill the holes
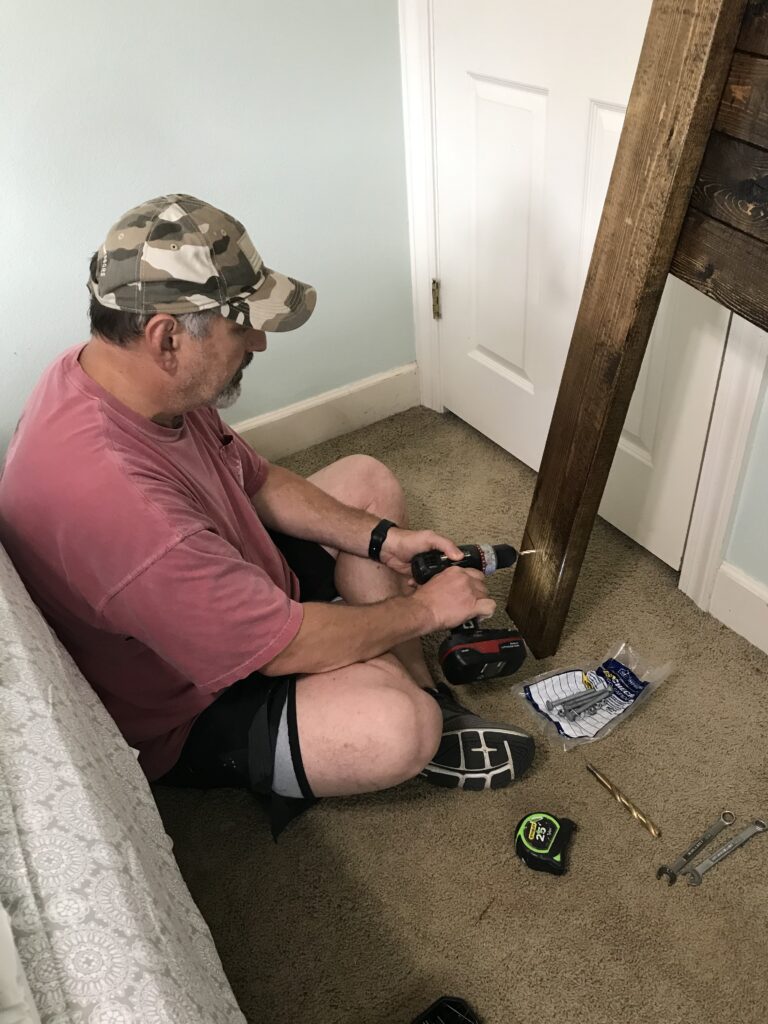
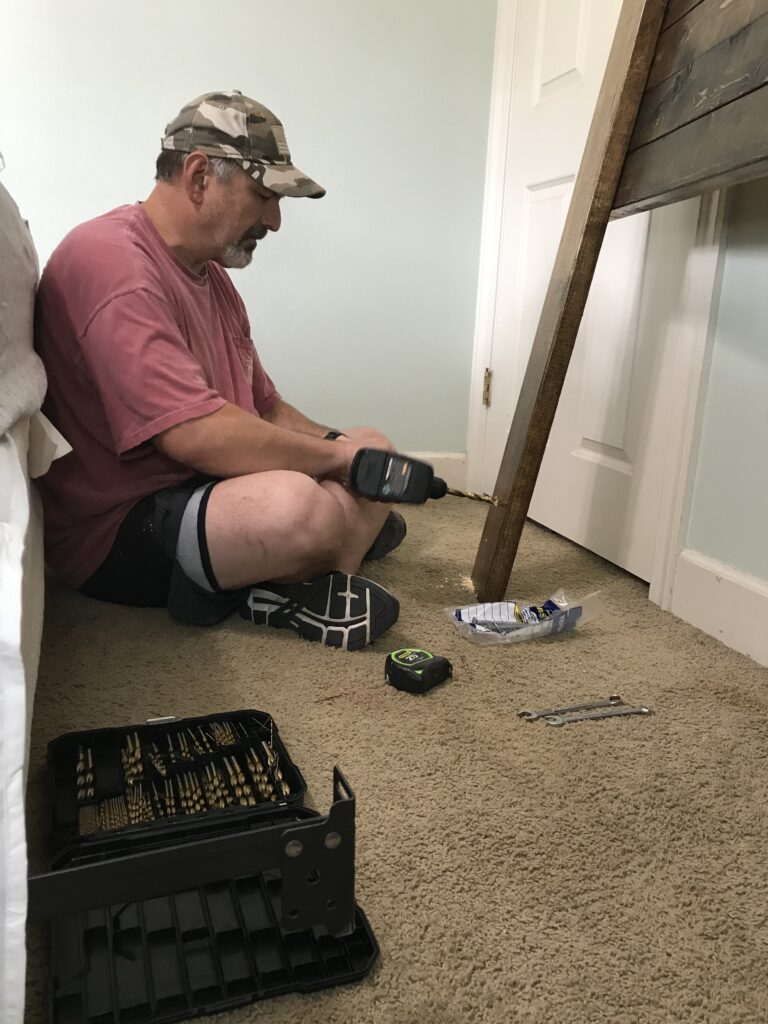
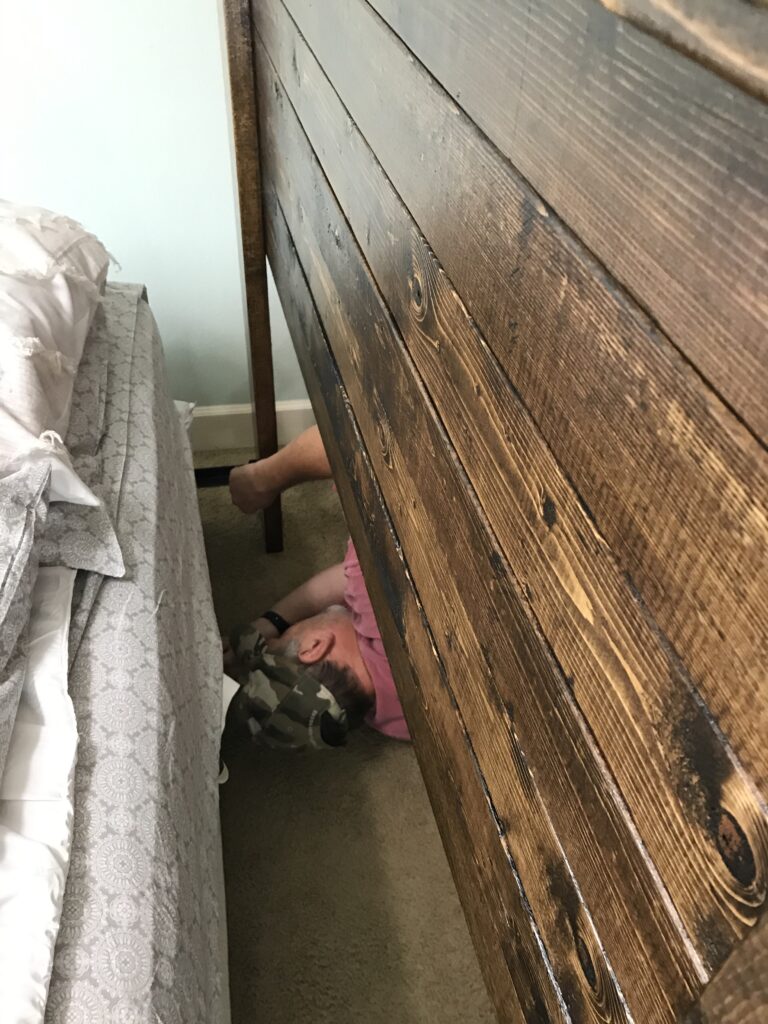
- Insert carriage bolt into the drilled holes from the back of the headboard through the metal slots in the bed frame. Put washer and nut on end of bolt and tighten. An alternative method would be to use screws and sheetrock anchors to install the headboard directly to the wall.
Final Thoughts
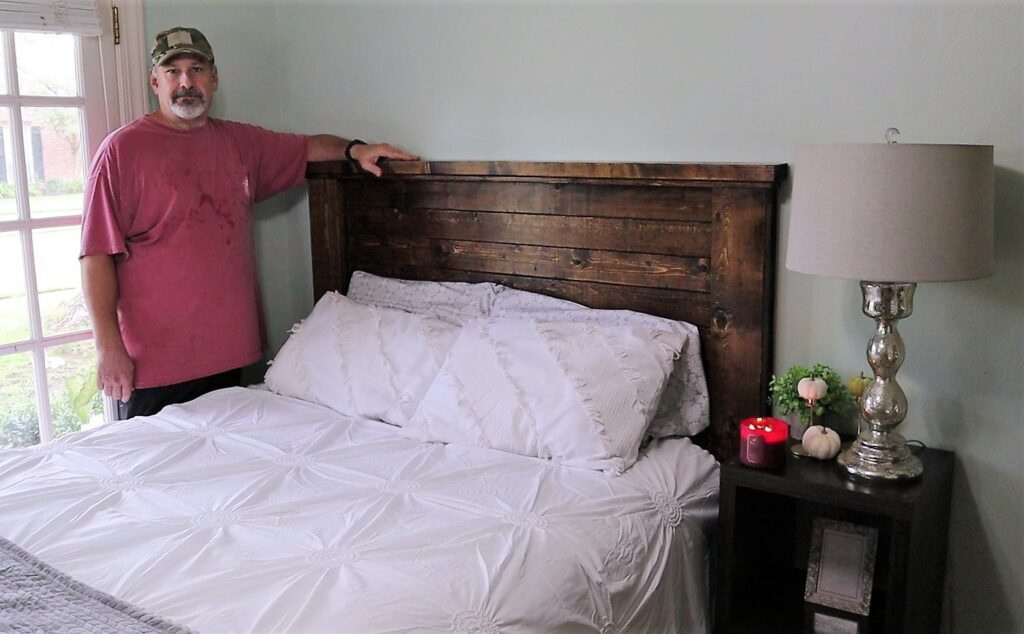
Now, tonight, you can lay down and go to sleep well knowing that you have built a quality headboard made with your own two hands and saved a couple hundred dollars. This DIY Rustic Headboard Build is so simple, inexpensive, and attractive.
Great job! Enjoy the simple life! Please let us know how you like this post or have suggestions on future posts.
If you like this DIY content, check out the Halloween DIY content:
- Scary Halloween coffin: Post, YouTube
- Jack-o-Lantern Light-up Box: Post, YouTube
- Faux Wrought Iron Cemetery Fence: Post, YouTube
- To see how they look in front of the house, take a look at 2020 Halloween DIY Hocus Pocus Display: YouTube
Finally, check out Rustic Headboard Build on the Louisiana Simple Living YouTube channel.
Remember, if you can dream it, you can do it!
Please LIKE this post. If you have any COMMENTS or QUESTIONS, please post below. Please SUBSCRIBE to our BLOG for additional great content.

Just what I envisioned!