Halloween is right around the corner. My wife and daughter really have big plans this year for our Halloween decorations. They volunteered me to complete some woodworking projects to help with decorating. Of course, I did as was told and got to work. There are three projects, starting with a Halloween DIY Jack-o-Lantern Box, that I have completed and will be staging in the front yard.
For each project, we will have a post on the BLOG, with details of the build, and a video on our YouTube channel demonstrating how it was built. Sorry, husbands, hopefully I’m not setting you up for a “honey do” as well!
The Halloween DIY projects include:
- Scary Halloween coffin: Post, YouTube
- Jack-o-Lantern Light-up Box: Post, YouTube
- Faux Wrought Iron Cemetery Fence: Post, YouTube
- To see how they look in front of the house, take a look at 2020 Halloween DIY Hocus Pocus Display: YouTube
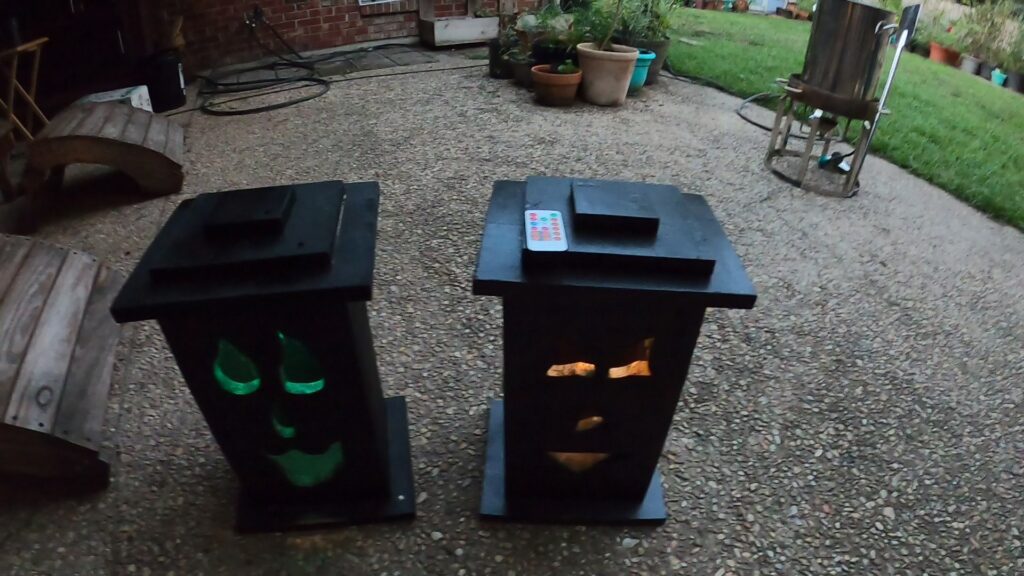
This BLOG post will focus on the Jack-o-Lantern Light-up box that I’ll build and put lights inside to show the scary face. The YouTube video covering the same is provided here.
Cutting the Wood
Proceed with marking and cutting all the wooden pieces needed for the assembly. Each box requires the following boards:
- 2 – 10″ by 11 1/2″ for the Bottom and 3rd level top
- 1 – 8 ” by 7″ for the 2nd level top
- 1 – 3 5/8″ by 3 5/8″ for the 1st level top
- 4 – 16″ by 7 1/4″ for the four sides

Draw and Cut out the Scary Faces
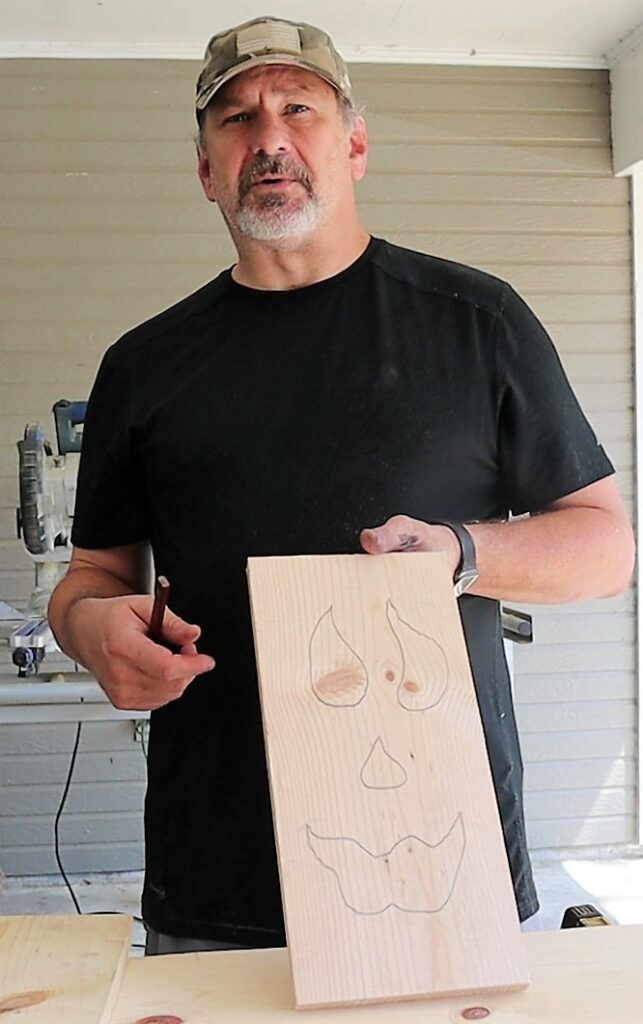
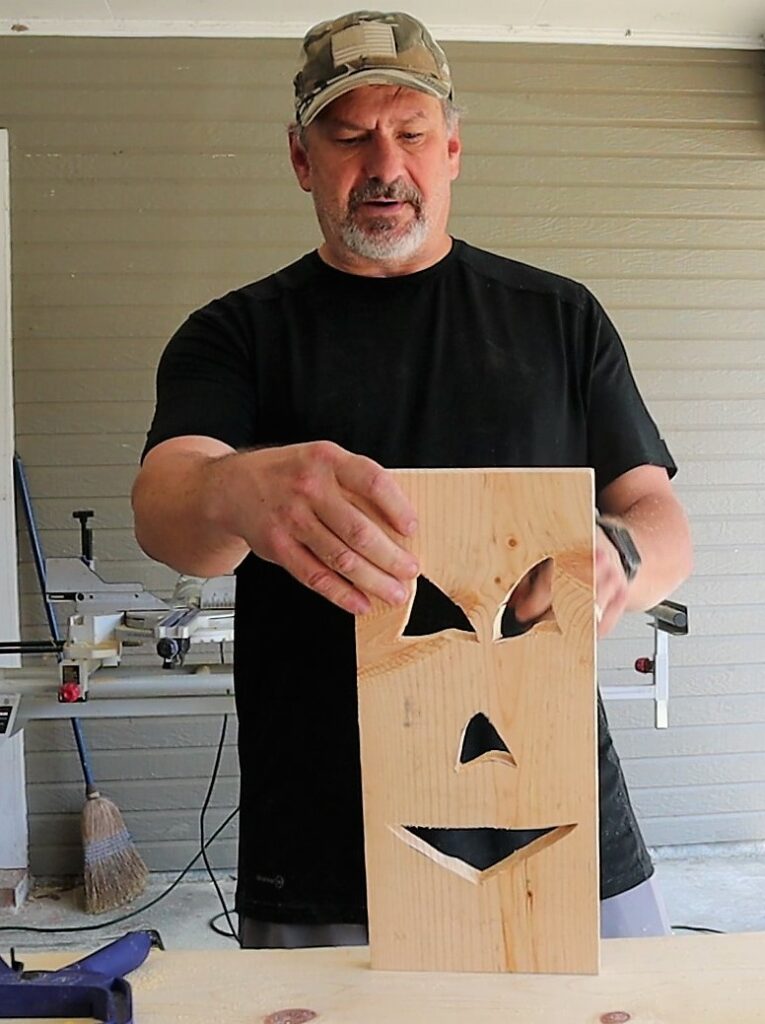
Next step is to draw the eyes, nose and mouth onto one of the side pieces (16″ x 7 1/4″ board). You can be as creative as you want. This is not an artist competition (thank goodness). You just need to draw a face to start out with.
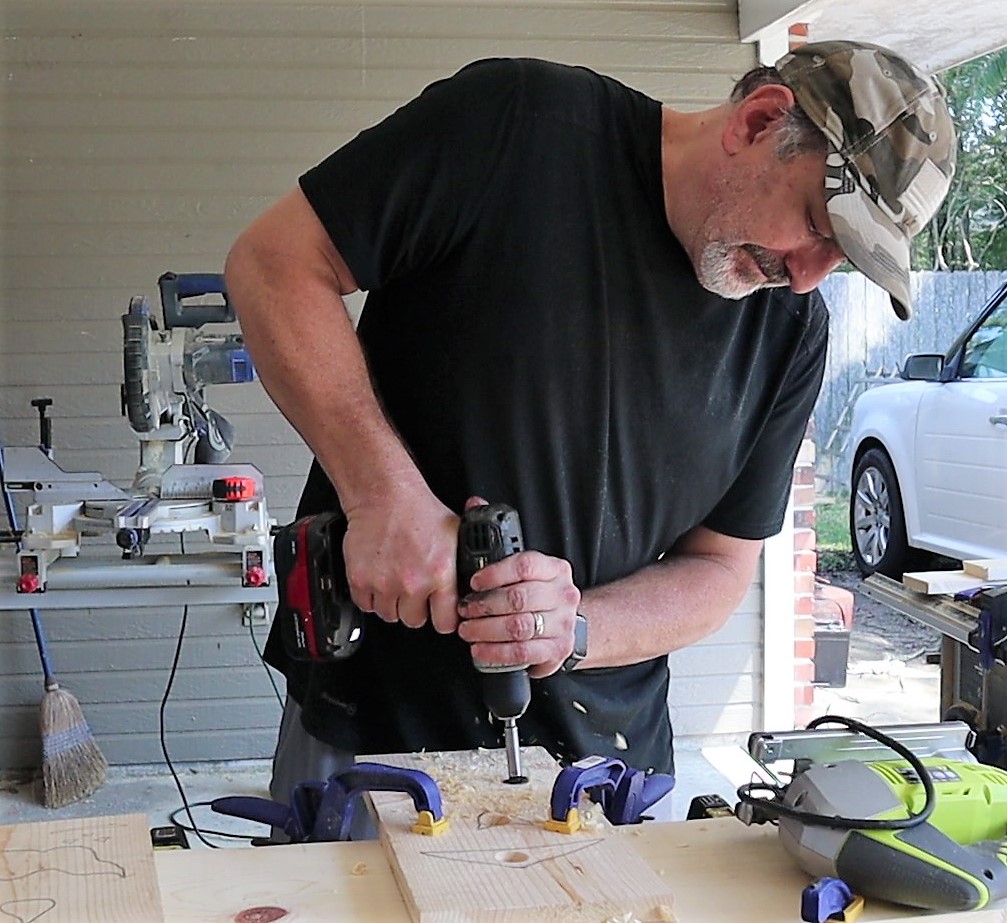
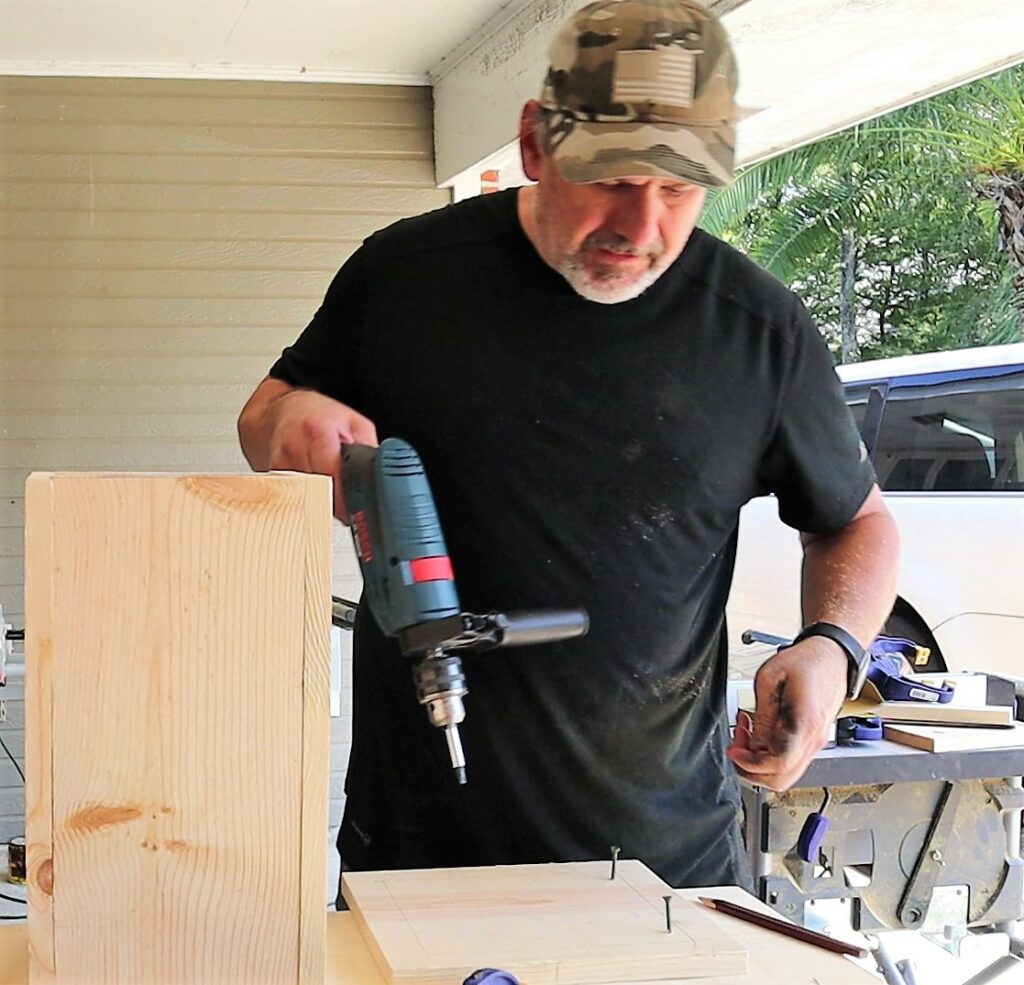
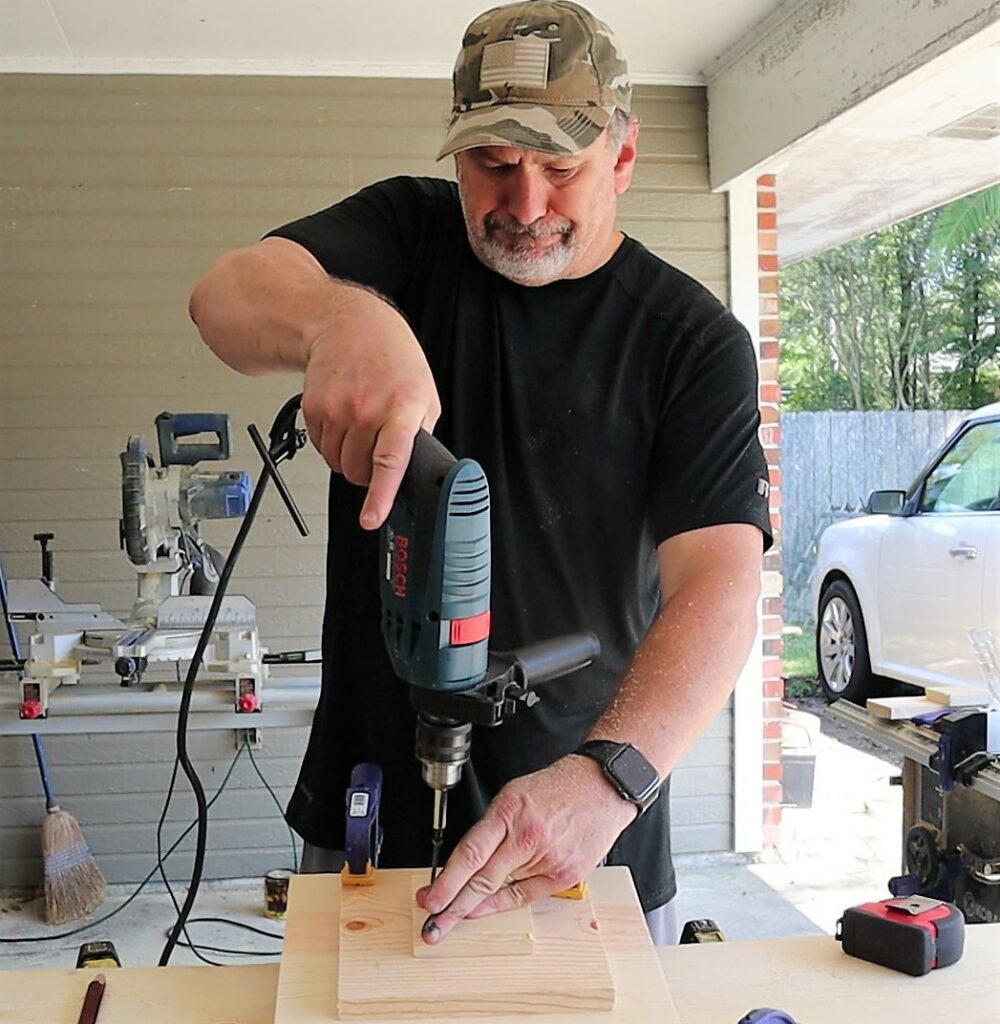
You will need to drill a hole into the mouth, nose and both eyes in order to get your jigsaw blade through. I used a 3/4″ bit to drill the holes. Unfortunately, my cordless drill died in process so was forced to pull out a heavy, but powerful, hammer drill. It worked until I remembered I had a really old cordless drill that still works with the same batteries.
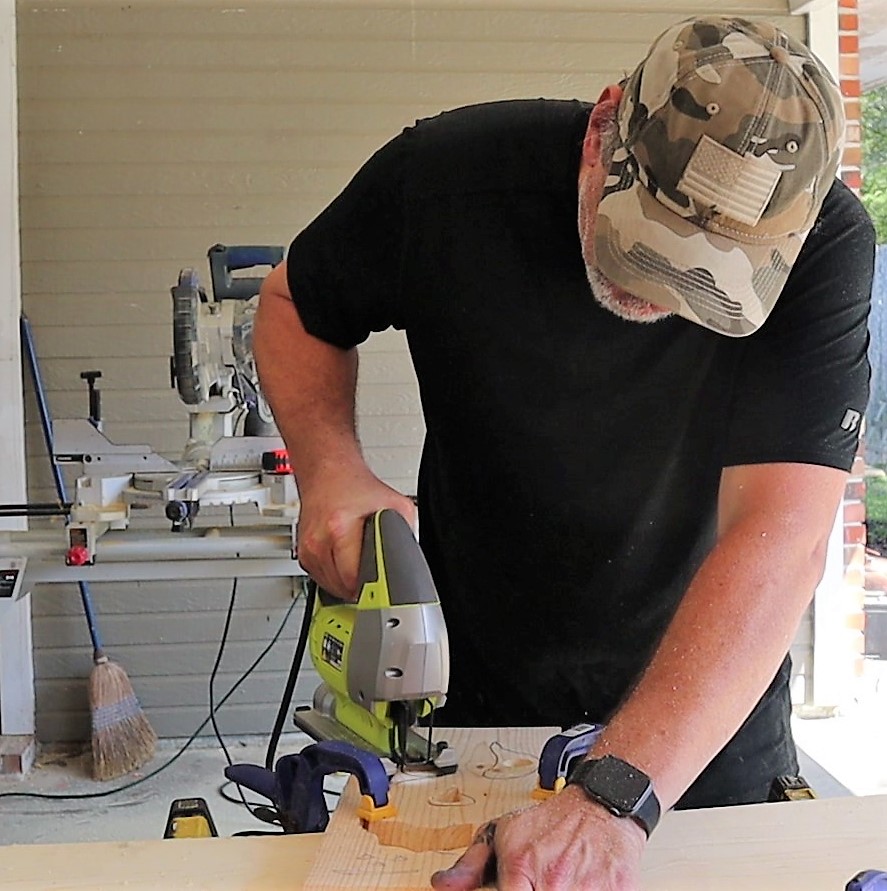
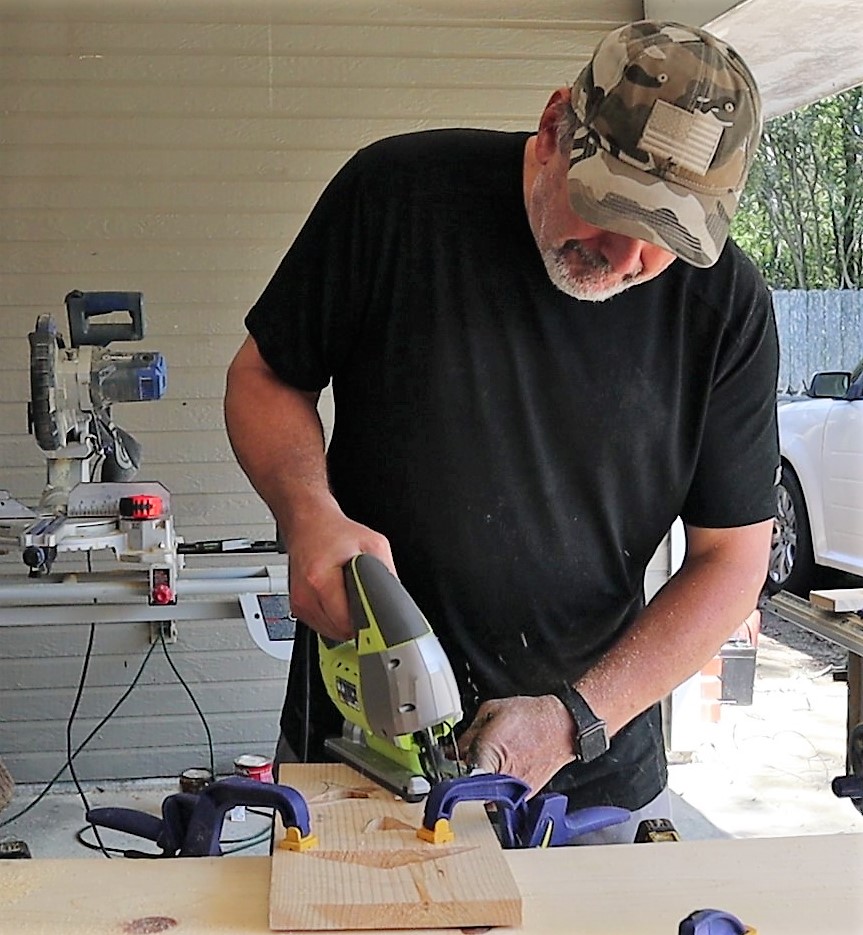
Now that we have he holes cut, we can cut out all the facial features with the jigsaw.
Assembling the Light-up Box
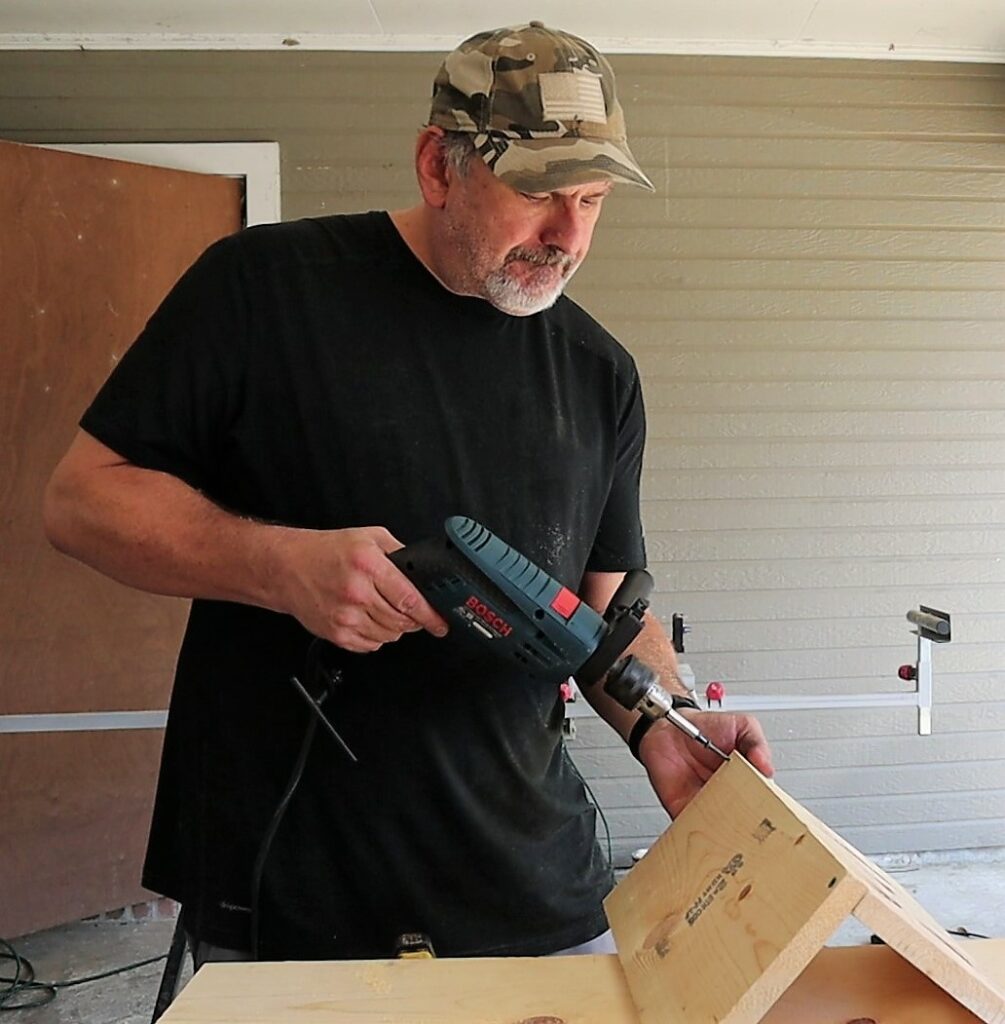
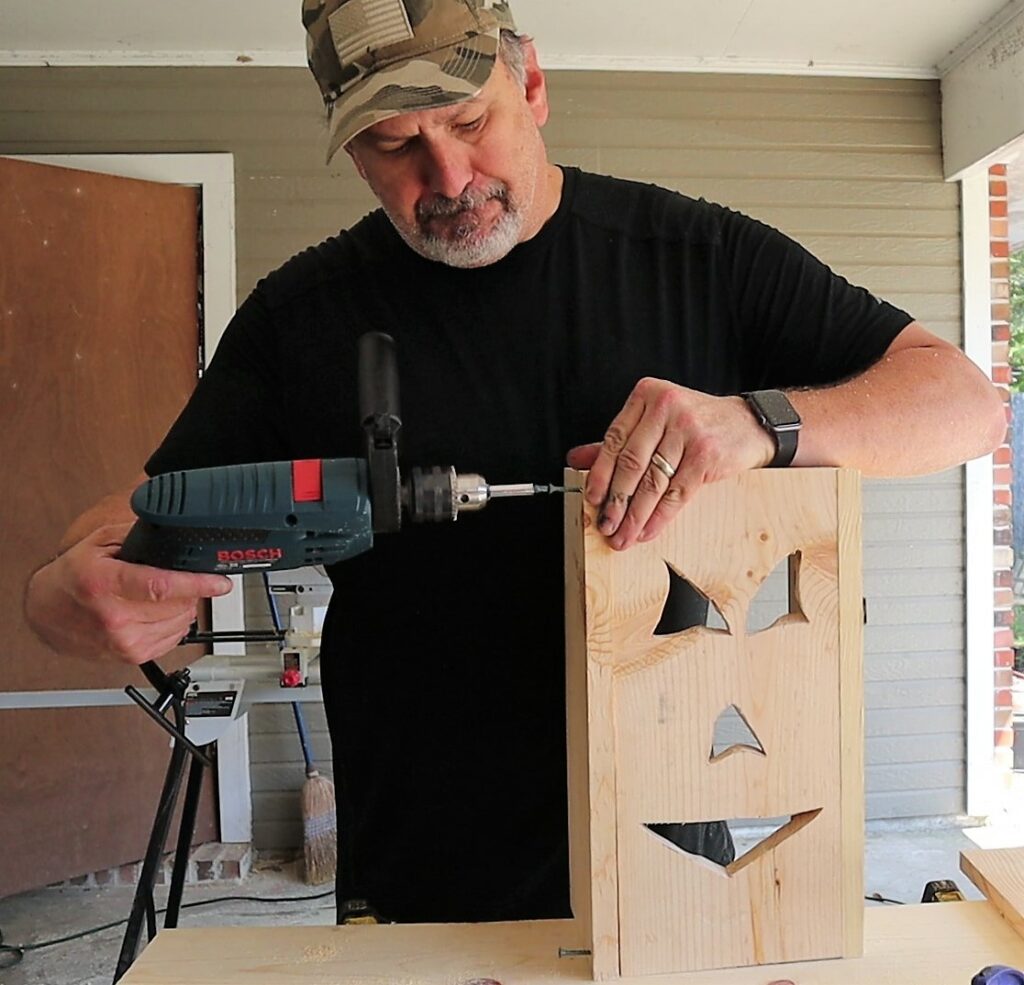
The first part of the assembly is to screw together all four sides. These are the 16″ x 7 1/4″ boards.
Final Construction
Use wood filler to fill in the indentations that the wood screws leave as they are screwed through the top of the box. Once dried, use some #220 sandpaper to sand it to a smooth finish.
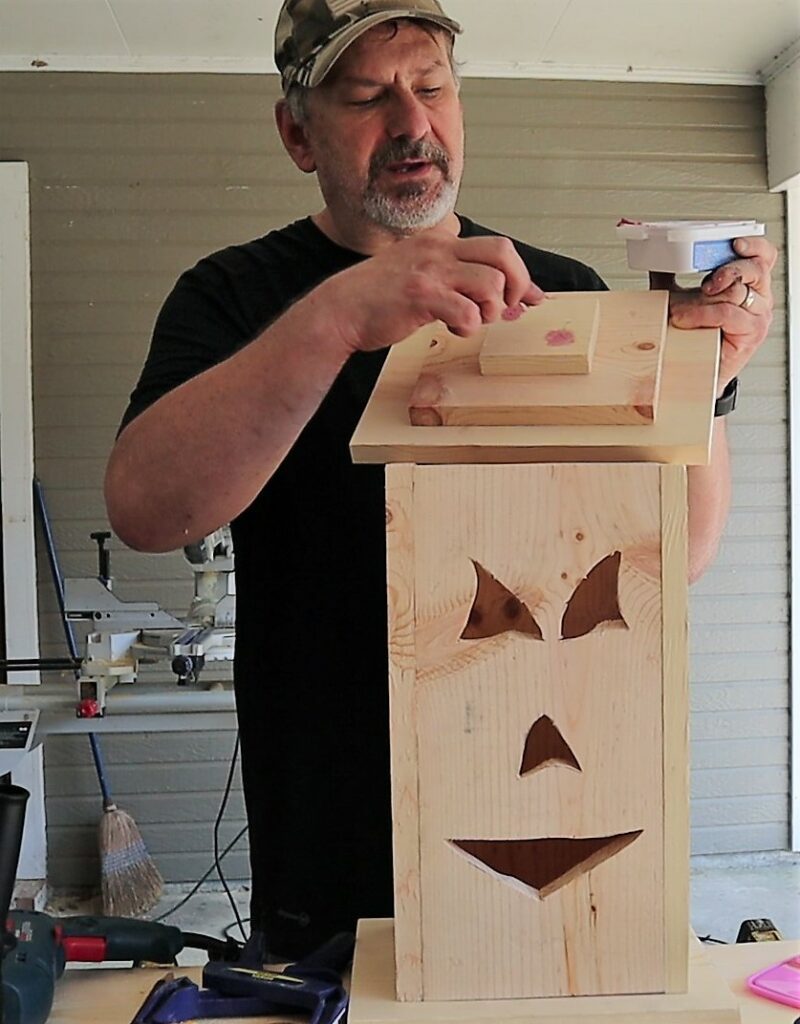
Spray paint the box black so only the face will show when light is projecting inside the box.
Attaching the Lights
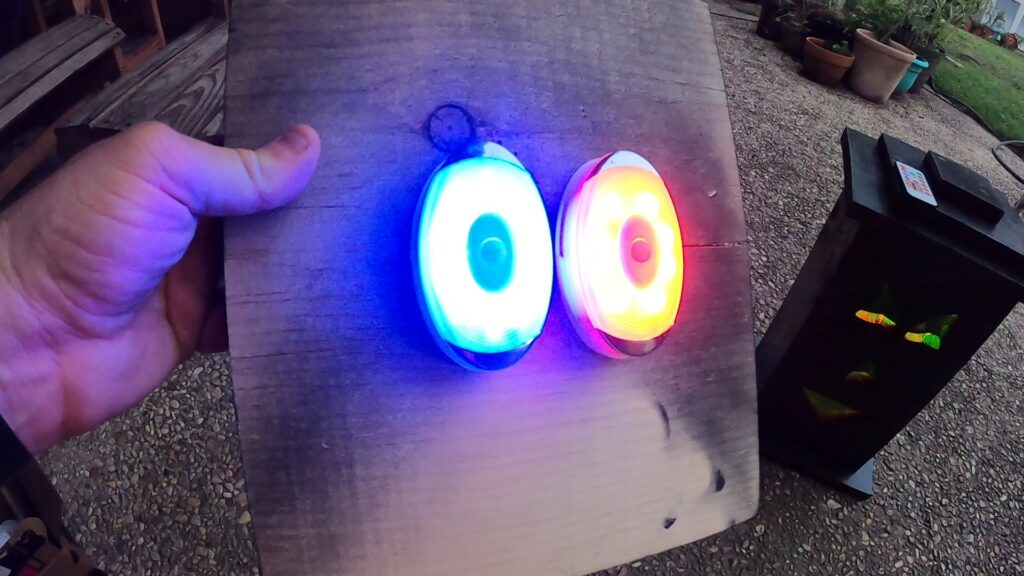
The led lights I choose operate using a remote control and can be set on a timer. They run on three AAA batteries. The lights can be setup to be white or will rotate through a number of colors. They seem to work pretty well and the batteries hold out for 4 or 5 days. The puck lights I used seem to be discontinued but these alternative puck lights should work well.
The puck lights come with a double-sided sticker to attach to the inside bottom of the top.
Completed Light-up Box
This was really a pretty simple project to put together. All we have to do at this point is to paint the boxes. I am painting them black.
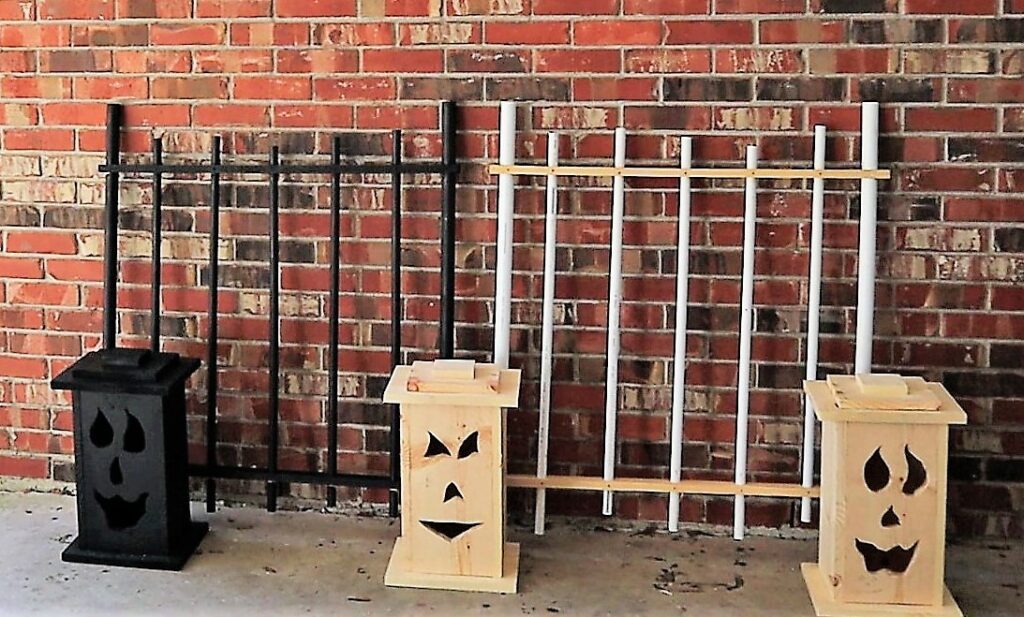
I finished this project with 3 total Jack-o-Lantern Light-up boxes. The final product is shown below:
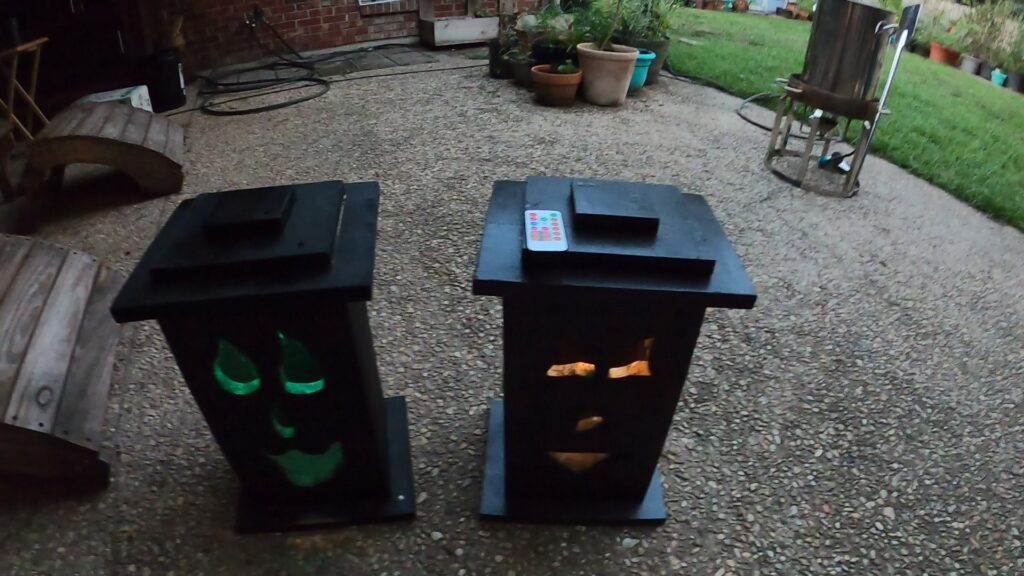
Halloween Jack-o-Lantern Light-up Box
A box with a scary jack-o-lantern face backlit so the face is illuminated at night.
- Combo Saw or other type of saw
- Cordless Drill
- Square, for marking measurements on board
- Pencil, for marking measurements on board
- 2 1 x 12 Board Cut 10" x 11 and 1/2" (3rd Level Top and Bottom)
- 1 1 x 8 Board Cut 8" x 7" (2nd Level Top)
- 1 1 x 4 Board Cut 3 and 5/8" x 3 and 5/8" (1st Level Top)
- 4 1 x 8 Cut 16" x 7 and 1/4"
- 1 Can Paint, Black Spray
- 1 Wood Filler (To fill in wood screw holes on top)
- 4 1 and 3/4" #8 Wood Screws (For screwing together top)
- 1 box 1 and 1/4" #8 Wood Screws (For screwing everything else together)
- 1 Sandpaper, #220 grit
- 3 – 6 Lights, Puck (Battery operated) (To light up the box)
Measure and cut 2 boards with measurements of 10" by 11 1/2" from a 1" x 12" board.
Measure and cut 1 board with measurements of 8" x 7" from a 1 x 8 board.
Measure and cut 1 board with measurements of 3 5/8" by 3 5/8".
Measure and cut 4 boards with measurements of 16" by 7 1/4" from a 1 x 8 board.
Ensure you sand the edges with some #220 grit sandpaper to make sure you don't get any splinters while working with the wood.
Draw scary face with eyes, nose and mouth on one of the 16" by 7 1/4" boards. Be as creative or artistic as you desire.
Use 3/4" drill bit to drill holes inside of the eyes, nose and mouth drawn on your board.
Use jigsaw to cut out your design for the eyes, nose and mouth.
Use 1 1/4" screws to assemble the 4 sides into a box.
Center bottom board and faster to bottom of box with screws.
Center first and second level top boards over the 3rd level top board. Use 1 3/4" wood screws to secure all three boards in position for the top.
Apply wood filler or putty in the hoses left on the top board. Let dry and sand to a smooth finish.
Apply black spray paint to entire Light-up box.
Install lights on inside bottom of top.
Setup out where you want the boxes and enjoy your handiwork!
Remember, if you can dream it, you can do it!
Check out the other Halloween DIY projects:
- Scary Halloween coffin: Post, YouTube
- Jack-o-Lantern Light-up Box: Post, YouTube
- Faux Wrought Iron Cemetery Fence: Post, YouTube
- To see how they look in front of the house, take a look at 2020 Halloween DIY Hocus Pocus Display: YouTube
Please LIKE this post. If you have any COMMENTS or QUESTIONS, please post below. Please SUBSCRIBE to our BLOG for additional great content.

Looks like a fun project!!!
It sure was. I don’t get to use my jigsaw that often so it was fun cutting out the eyes, nose, and mouth. The other challenge was to light it up. I found some pretty good LED lights on Amazon that will work. I can’t wait to see how they are going to look in the front yard. Thanks!!
can’t wait to see them!!!
They look great!