My daughter was so kind to give me a Chocolate Maple Porter Beer Kit from www.BrooklynBrewShop.com for Christmas, so I can brew my own beer experience. Unfortunately, I put it in the pantry, it got covered up, and I forgot about it. I was digging through looking for something else and found it again. I thought I would add a post showing how the kit worked and the overall process of making beer at home. This is a first time for me making beer.
Beer Making Kit
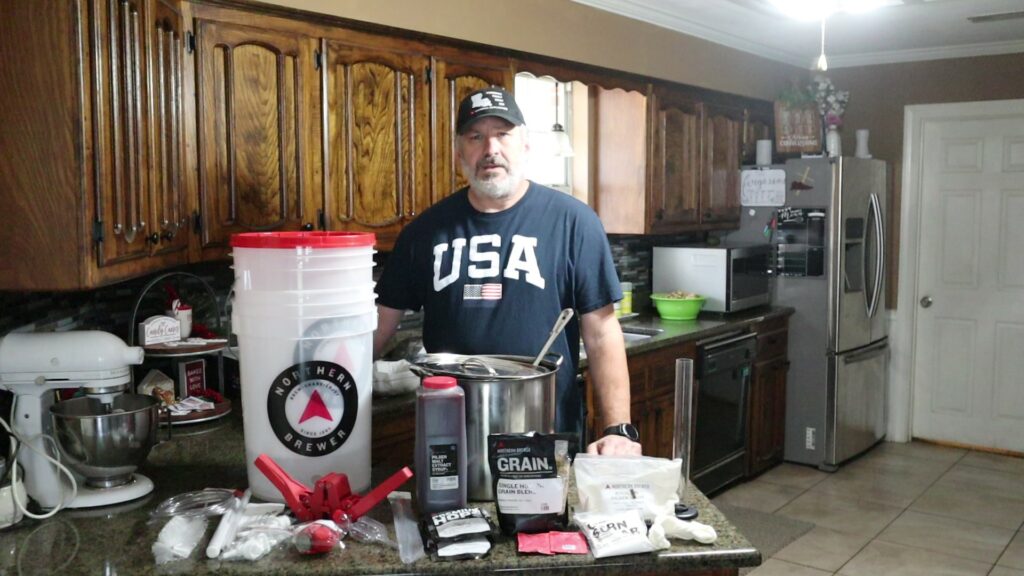
The Beer Making Kit has just about everything that you need to brew the beer. The Beer Making Kit comes with:
- Grain, hops, and yeast for your first batch
- Racking cane
- Thermometer
- Tubing Clamp
- Glass fermenting jug
- Cleanser/Sanitizer
- Airlock
- Clear vinyl tubing
- Screw-cap stopper
You will also need the following but is not included in the Brew Kit:
- 6-quart pot
- Strainer, fine mesh (large)
- Funnel
- Maple Syrup
- Bottles and caps
Making the Mash
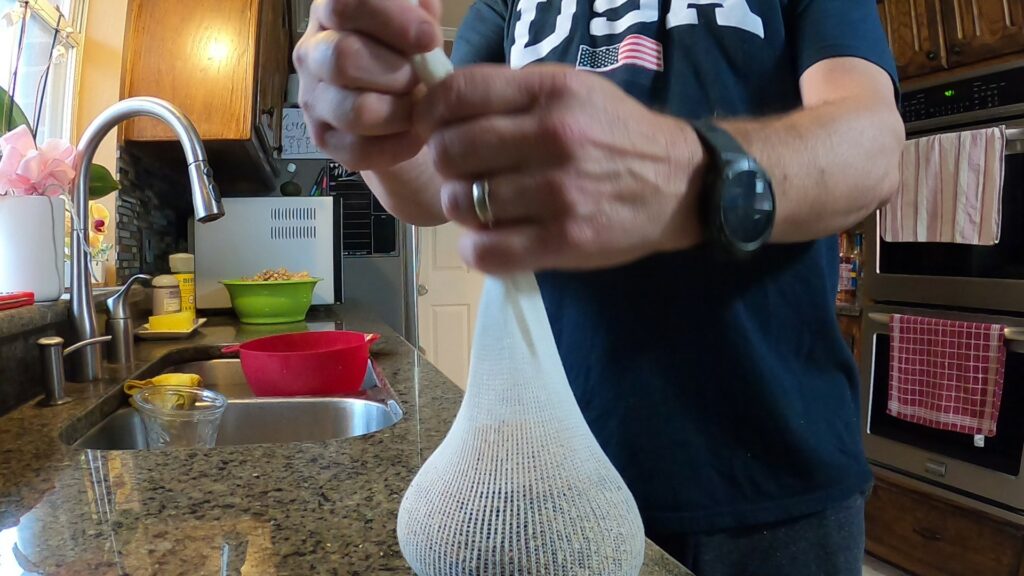
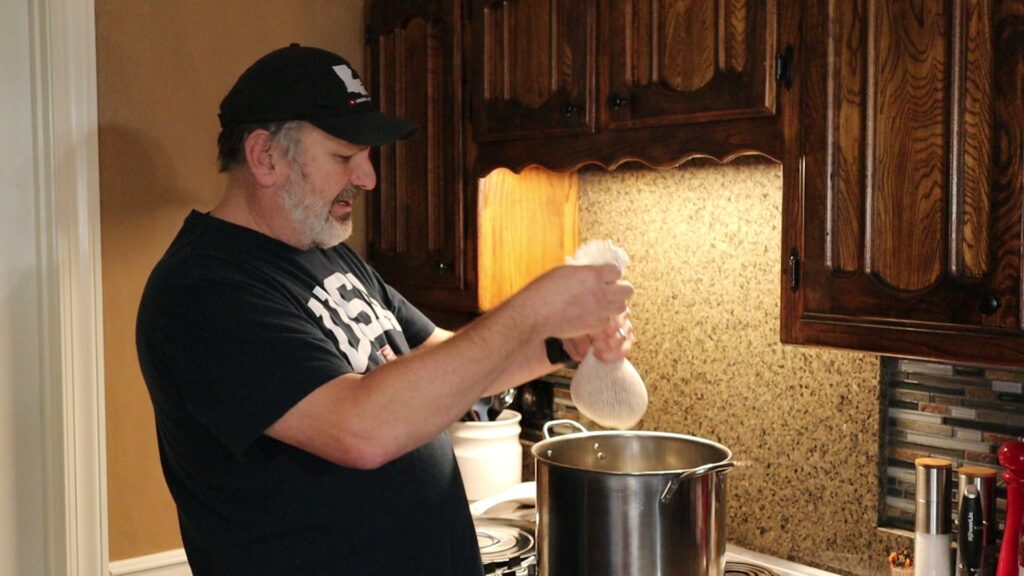
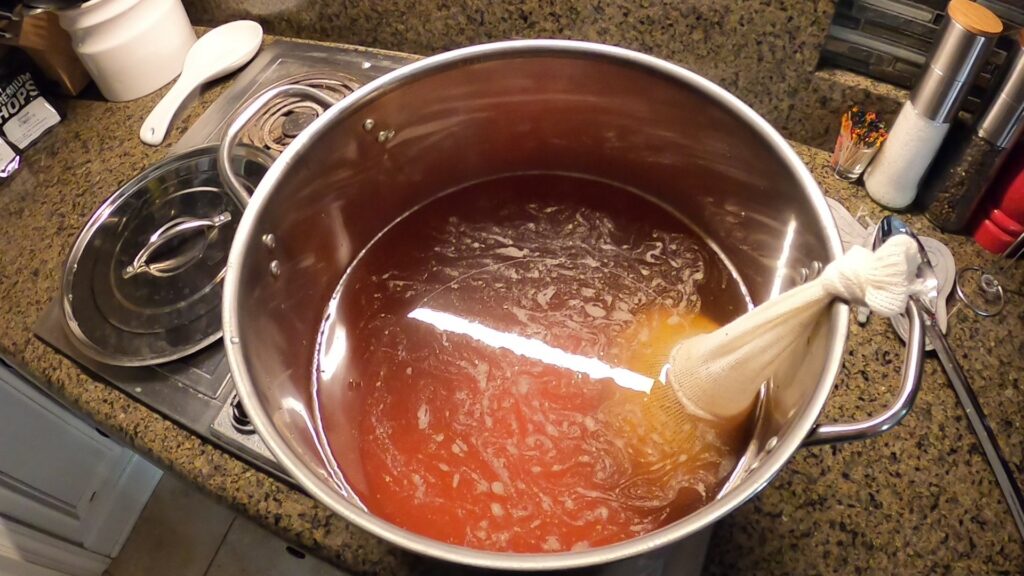
Making the Mash involves cooking the grain to extract all the sugars, color and flavor. It is cooked at a controlled temperature using a thermometer. You may have to throttle the heat back and forth to ensure it maintains a temperature range of 144-152°F for 60 minutes.
The Sparge
The Sparge step is what creates the wort (the beer). You take the mash from the first step and place it in a fine strainer. Next, your pour hot water over the mash in order to extract all those sugars, colors and flavor into your wort.
This is where I had some difficulty. The strainer that I used just barely held all of the sparge. So, as I poured the hot water over it, the water wanted to wash the sparge over the top of the strainer. I just had to go real slow and I put some cheesecloth between the strainer and a colander to prevent the sparge from getting into the wort. Note: the wort already tasted pretty good.
The Boil
The Boil step is pretty straightforward and that’s where we bring the wort to a boil and add in the hops and maple syrup. Once you get it to a rapid boil, you cut the heat back to a light boil and add in 3/4 of the Hops. The remaining Hops is added after 45 minutes.
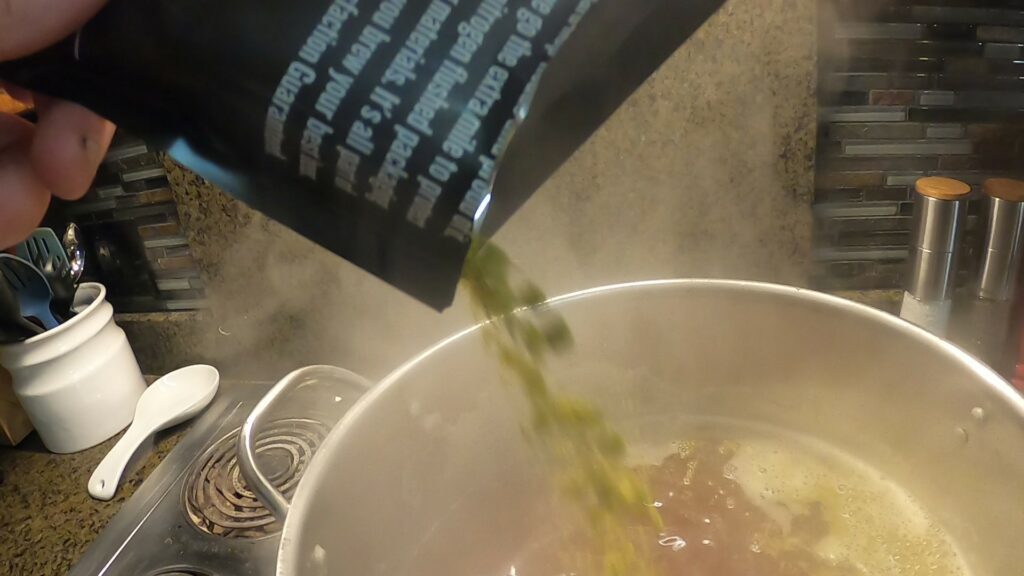
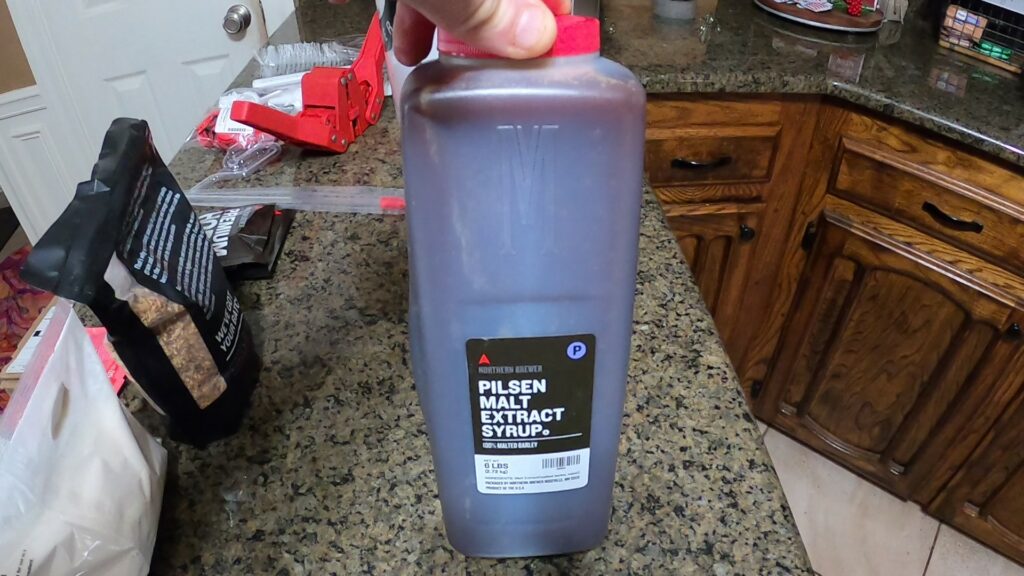
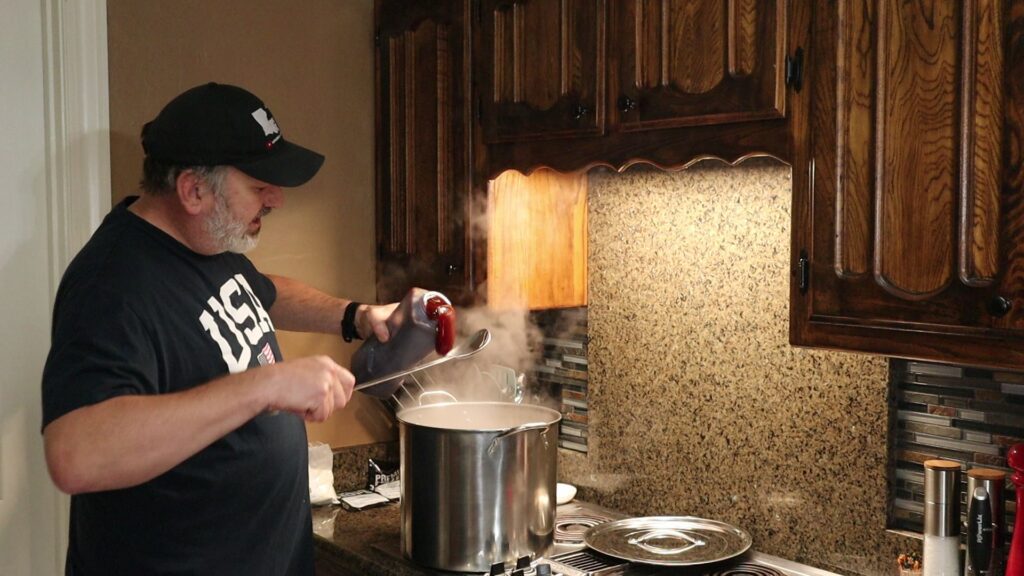
Finally, 15 minutes later, turn off the heat and add the maple syrup.
Fermentation
The fermentation process is when we add the yeast to the wort and fermentation of sugar to alcohol occurs. We utilize the fermentation jug that comes with the kit. We cool the wort after the boil down to 70°F. Transfer the wort to the jug. Next we “pitch” the yeast into the wort in the jug.
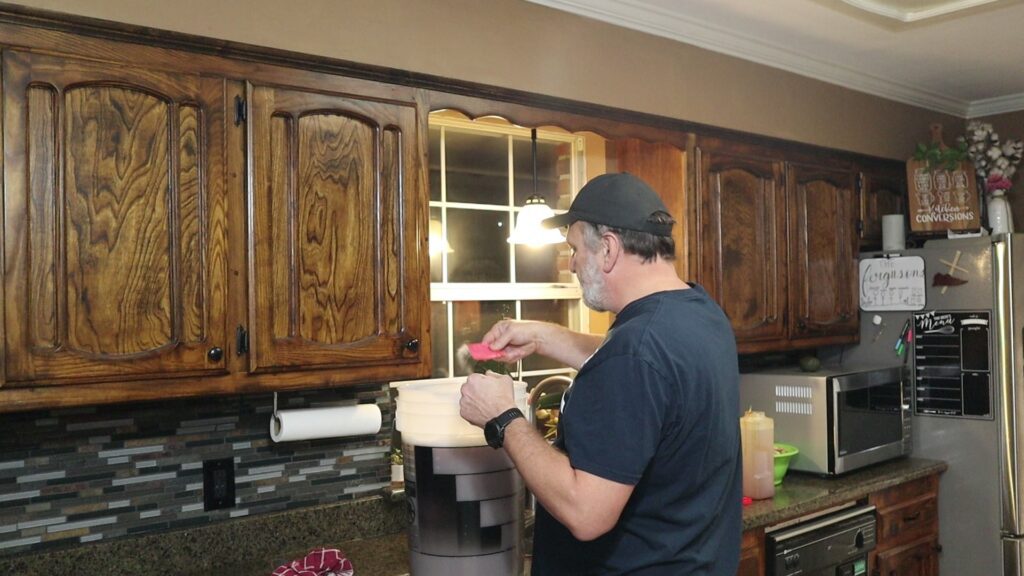
Once the yeast is added, you need to shake the jug aggressively to mix yeast and get more air into the wort.
Next, we attach the screw-top stopper to the jug. Place the rubber tubing into the opening on the screw-top no more than 1″ deep. You place the other end of the tubing in a small bowl of sanitizer solution. This setup allows the CO2 to escape. Let the jug with the tubing arrangement sit for 2 or 3 days. The fermentation process is in full gear and you will see CO2 gas bubbling vigorously in the sanitizer solution.
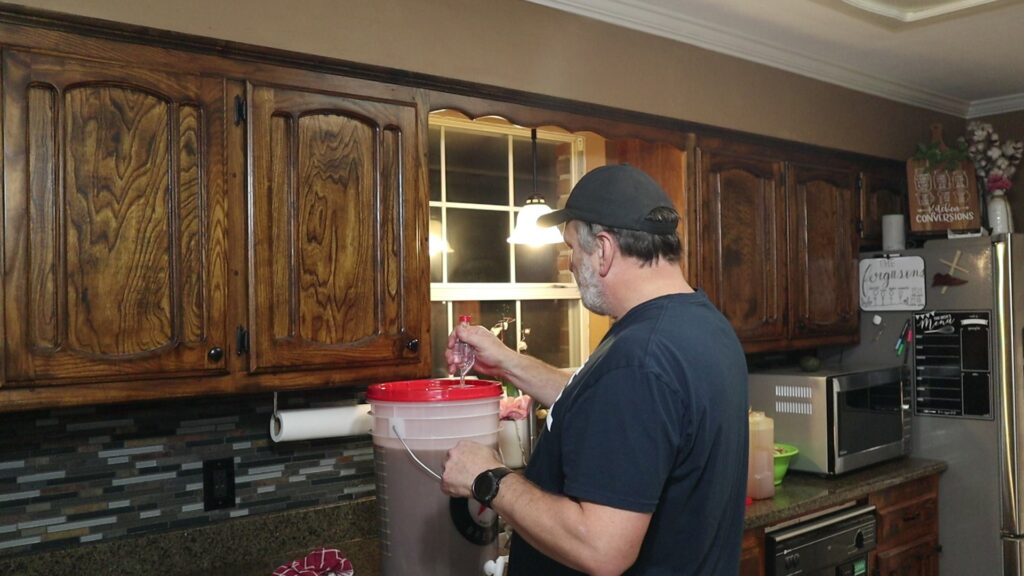
After 2 to 3 days of bubbling (it will slow up), remove the tubing and put on the airlock by pushing it into the screw-top’s hole. Place the jug in a dark place at room temperature for 2 weeks.
Bottling
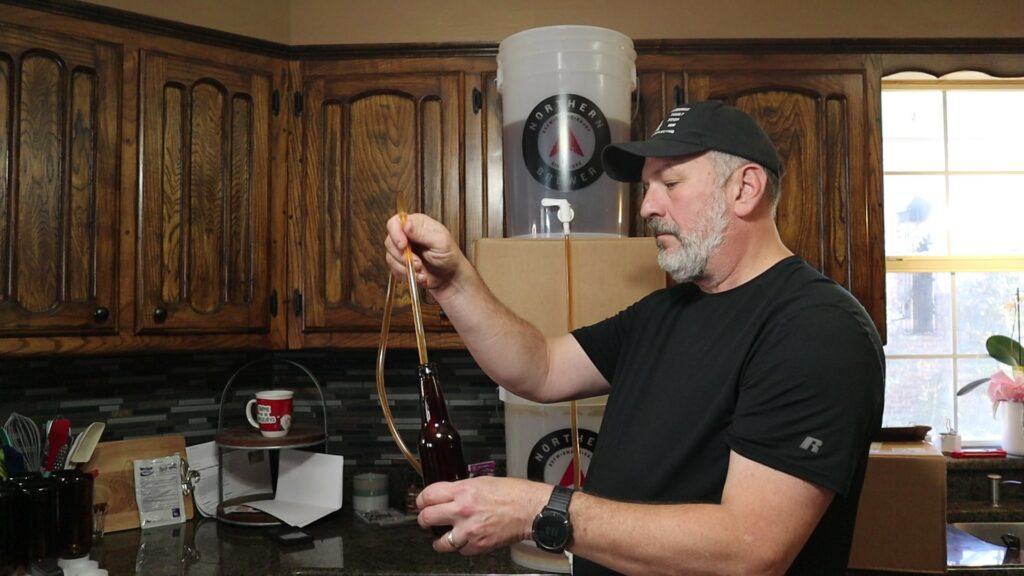
You siphon the beer using the tubing and the racking cane to a pot that contains 3 tablespoons of maple syrup. This mixes the maple syrup with the beer giving the yeast a “wake-up” call allowing for carbonation to build up once siphoned in the bottles and capped. The bottles are then sealed and stowed away for 2 more weeks to build up some carbonation.
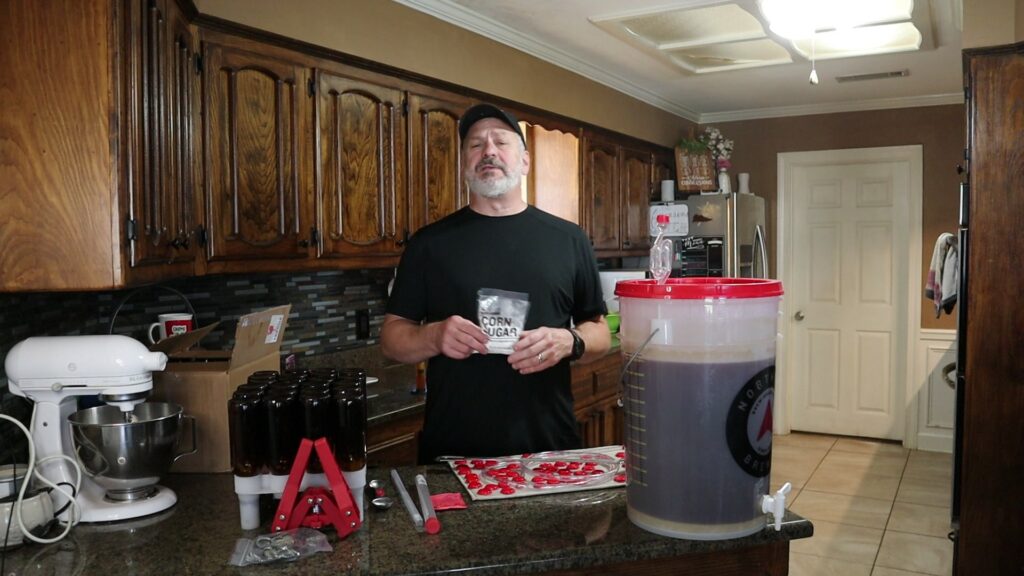
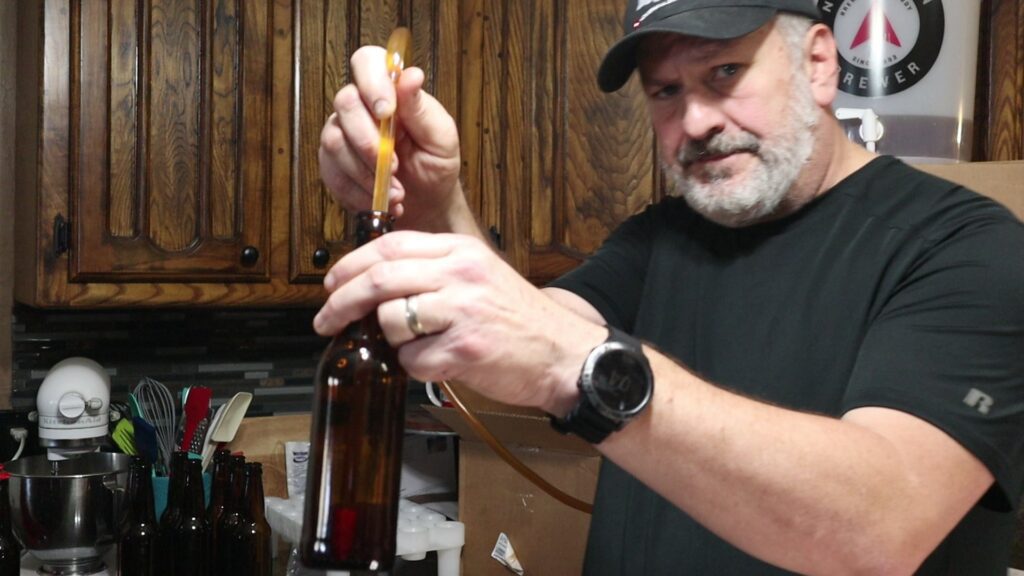
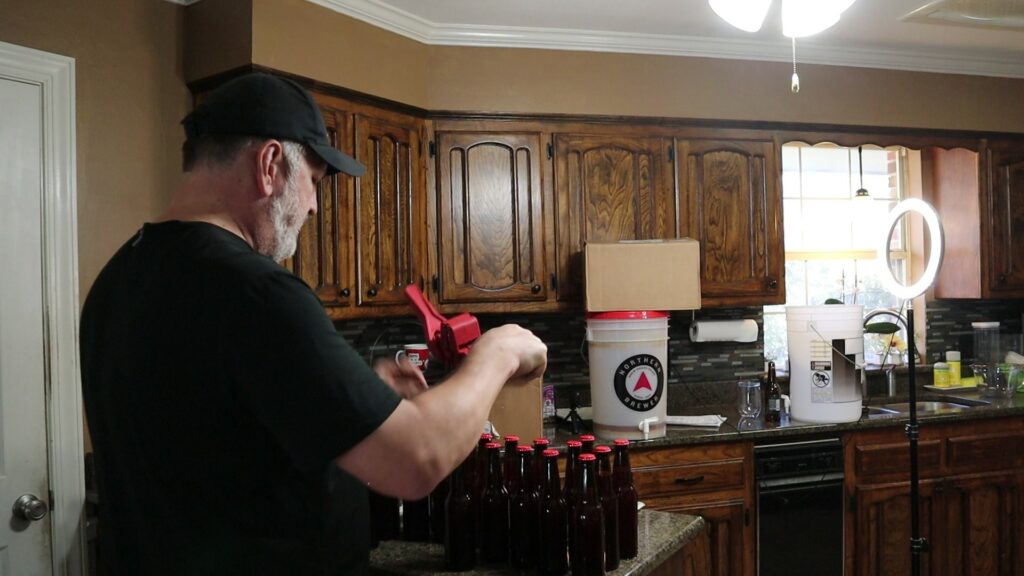
This is the other problem I had in this beer brewing experiment. The lids on a few of these bottles must not have sealed well as they turned out flat (no fizz, bummer, still tasted pretty good though). These bottles have been used numerous times so the lids may be getting a bit worn out.
Conclusion
Brew your own beer experience is fun but does require a little bit of work on your behalf. Patience is also required as it takes 4 weeks at least to allow the two stages of fermentation to run its course. The steps as explained on BrooklynBrewShop.Com’s website was satisfactory in describing the steps but you have to try out a few of the steps first before it makes total sense (e.g. siphoning beer using the racking cane, tubing, and sanitizing solution).
BrooklynBrewShop.Com’s Chocolate Maple Porter beer did taste excellent. It was somewhat rich and chocolatey with a slight undertone of sweetness. Note: the dark chocolate flavor does come from a small amount of Chocolate Malt.
Will I do this again? Absolutely! Now that I better understand the process, I intend to try this out again with a different type of beer but maybe with some new bottles and caps this time.
********************************************
If you enjoy this content, check out my award winning Cajun Cornbread and Meat Dressing, taught to me by my Grandmother-in-law from Gramercy, LA!
Now, enjoy the simple life and make memories by sitting with your family or friends, and sipping on a Chocolate Maple Porter beer that you made with your own hands. Please let us know how you like this post or have suggestions on future posts.
Enjoy! Remember, if you can dream it, you can do it!
Please LIKE this post. If you have any COMMENTS or QUESTIONS, please post below. Please SUBSCRIBE to our BLOG for additional great content.

I thought it would be more complicated to make. Fun project with a great reward at the end.