This week I’m looking at all the video topics that are in my backlog and the one that keep bubbling up is to review a checklist for planning a Spring Garden. I know it’s hard to believe that we should be worried about our Spring Garden now while we are in the middle of Winter. However, now is absolutely time to get your Spring Garden planning in place and be ready for what you want to grow.
I rolled this topic out on my Louisiana Simple Living YouTube channel right before Christmas. I like to follow that with a BLOG posting. Thus the BLOG posted today.
Spring Garden Planning Checklist
I decided to use some graphics in CANVA to show an actual spring garden planning checklist and check off each item as we reviewed it. I think it added to the video. What do you think?
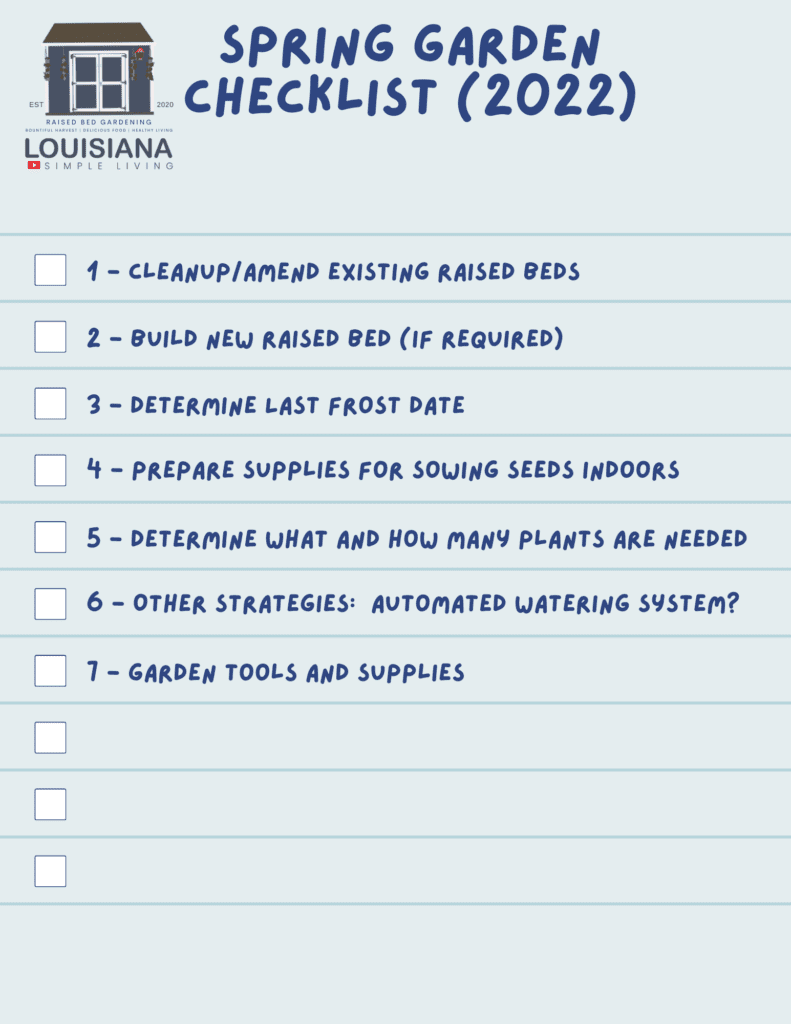
Cleanup/Amend Existing Raised Beds
Remove old Plants
First step in our spring garden planning checklist is to remove any old plants that may be left over from your last Spring, Summer or even Fall garden. Go ahead and put those old plants in your compost pile or throw them away if that plant looks or was diseased or covered with pests.
Amend Soil
We need to either seasonally or annually refresh and amend our soil with nutrients and other good soil components. My garden’s bountiful harvest is largely due to the great soil that I have. I try to follow the Square Foot Gardening (SFG) soil mix, called “Mel’s Mix” in tribute to the original creator of SFG. Mel’s mix, the SFG recommendation, absolutely works and I’m a firm believer in it.
Mel’s mix consists of 1/3 sphagnum peat moss, 1/3 vermiculite (substitute with perlite), and 1/3 a combination of 3 to 5 different composts. I use some composted cow and chicken manure, mushroom compost, along with some homemade composts from my compost tumbler. I buy the cow, chicken and mushroom compost in bags from my local plant nursery, Clegg’s Nursery, in my case. I also choose to add some Azomite rock dust for a good dose of micro-nutrients that it provides.
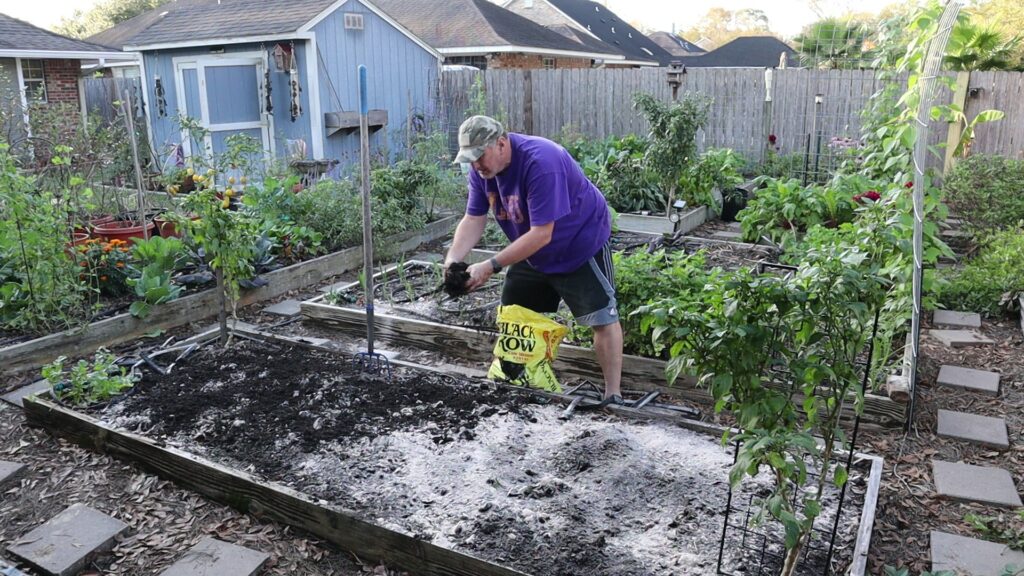
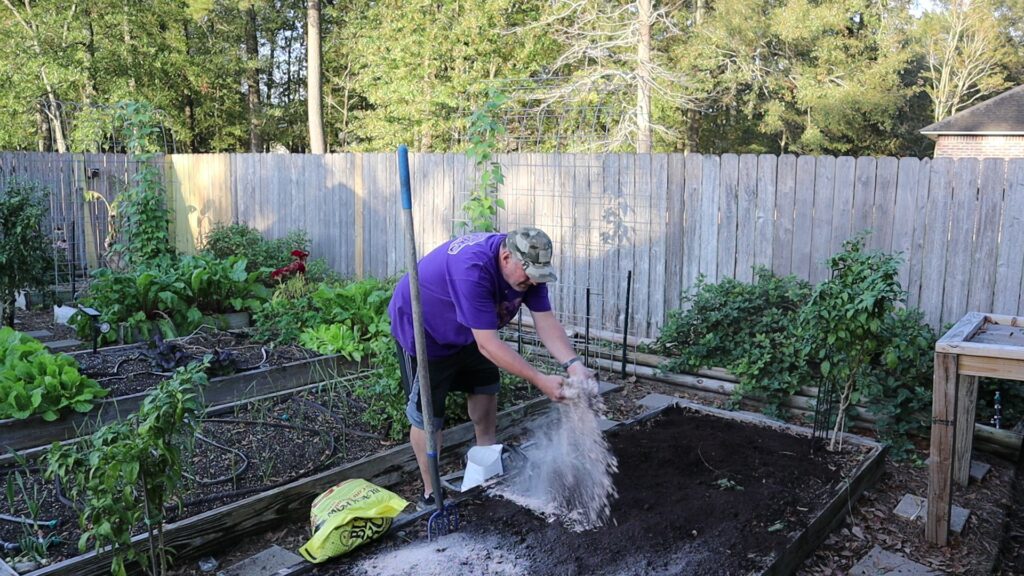
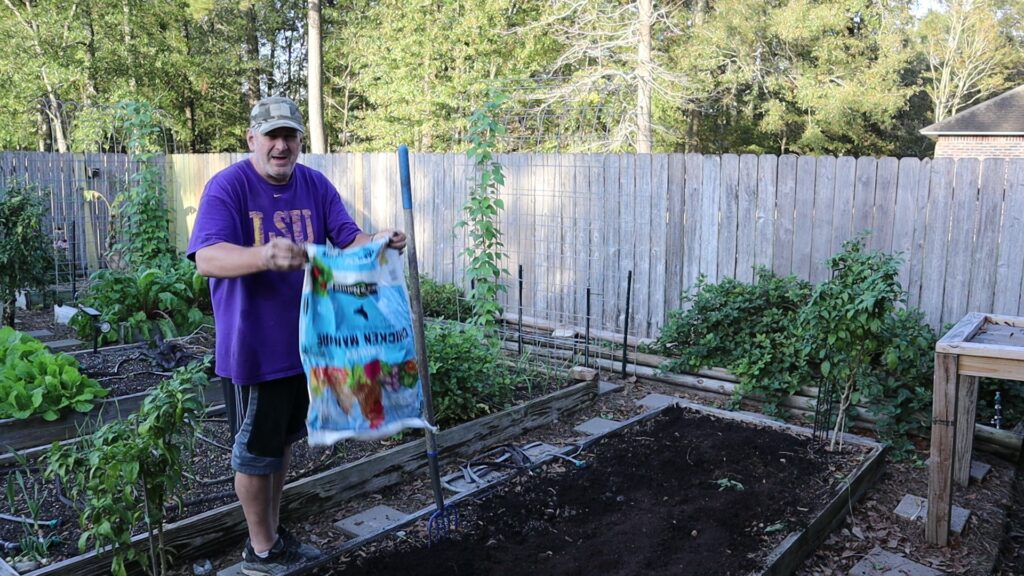
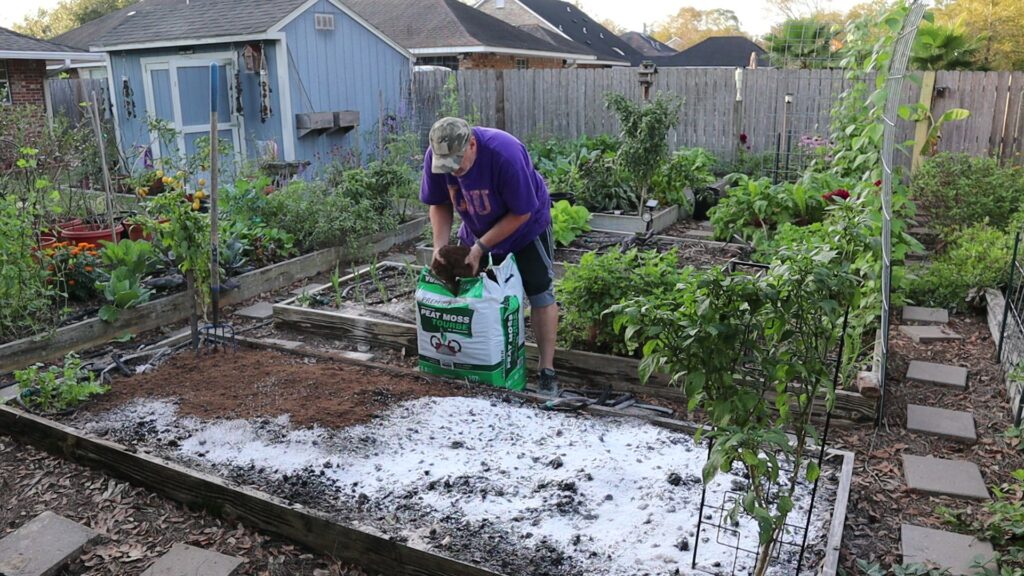
I will add these components to the top of the raised bed soil. I then use a fork to work these amendments into the top 4 to 8 inches or so of the soil. I use the fork to break up any lumps of soil or compost as well.
Determine when you Last Frost will occur
We need to determine when your last frost is expected to occur within an acceptable level of confidence. You can get this through the Old Farmer’s Almanac @ https://www.almanac.com/gardening/frostdates. It is available on other sites as well but I typically use this one.
The reason this is important is that date is your target for when you should be ready to transplant any seeds you sowed indoors. We can use this date and back up a number of weeks, depending on the species, to sow these seeds indoors under a grow light. For example, for my Zip Code, there is a 30% chance that we will see a frost on March 10th.
For example, I try to get my seeds sowed about 6 – 8 weeks before the last frost date. Specific recommendations may be printed on the seed pack as well. So, that means 8 weeks backing up from March 15th, would be mid- to late-January. If you are in Zone 9A or more North, you can still sow your seeds indoors.
Prepare Supplies for Seed Sowing Indoors
I stared sowing seeds indoors. a few week back. In preparation, I needed to make sure I’ve got all the supplies I need. You will need the following:
Seed Starter Trays: I use Plant Trays without holes, 10 pack for sowing my seeds. There are other options but this is how I prefer to do it.
Soil Block Tool: I use a Soil Block Tool to create my own seed starting blocks instead of pre-compressed coconut coir or other pre-manufactured soil block. I think this works so much better than the compressed and rehydrated blocks.
Wicking Cloth: I also use Wicking cloth in the bottom of the trays to ensure the water that is applied spreads throughout the tray and keep the blocks hydrated better from the bottom-up.
Seed Starter Soil: I use my Soil Block tool to create blocks using Espoma Organic Seed Starter Premium Potting Soil Mix. Any potting soil will work but I just like to go with the organic potting soil mix.
Water Spray Bottle: This is the water bottle what I use to water my seedlings with indoors. It gives the right amount of water but not at a pull-switch type of sprayer.
Grow Light: You will need a good grow light to provide the energy needed for the seedling to grow. I’ve used the following grow light from iPower and this one from JumpStart. You are able to get 4 trays underneath the light so that works pretty well for my seed sowing needs. For the money, the iPower is a better deal and has two T5 light bulbs.
Heating Pad: I also put these heating pads underneath the trays to keep the soil warm which aids in germination and seedling growth.
Table: I use a 5’ x 4’ fold-up table in my office to place the trays, pads, grow light, etc. You don’t want to use anything nice as you will get some water and soil overspray.
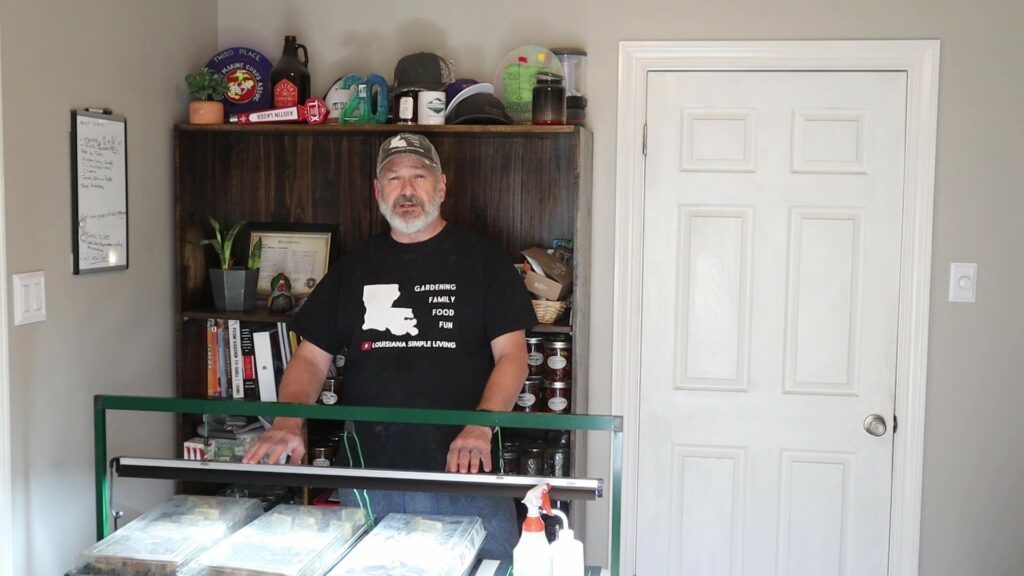
Plant labeling: I have historically used bamboo labeling using a permanent market to put what the species is. Unfortunately, the ink doesn’t always last so am considering using a printed label placed on these bamboo tags but my current approach for outside in the garden are metal plant markers.
Determine or plan what and how many you want to plant
You need to look at how much space you have in your garden and figure spacing for each type of plant. If starting seeds indoors, this will tell you how many seeds and seed blocks you need to sow. I always sow a few more than needed and also overseed the seed block meaning more than 1 seed per block. That provides just a little insurance in case the seeds don’t have a high germination percentage.
Once you’ve decided on what types to grow and how many, next is to look at your current seed packs and check dates. Seeds from last year will likely be fine but multiple years can have an impact on how well they will germinate. See my recent video on how to check your germination rates @
Remember to grow a wide variety, assuming you have enough room, as that’s all part of the fun.
I routinely order seeds from three or four online stores. All have a great selection of heirloom seeds that I know you will be happy with:
Other Strategies for Spring Garden Planning – Automated Watering System
One of the simplest things that hurt plants is to either over- or under-water your raised beds. Although I do have an automated watering system, I still make all attempts to go and look at my plants each and every day. However, in the event life happens and you can’t get to the garden, at least you know it will get some watering. See video @:
Garden Tools
Finally, take an inventory of your garden tools to see if you can find them and confirm they are still operable. This can includes items such as:
- Pump Sprayer: 2 gallon plastic pump-up sprayers work great for applying neem oil and BT.
- Tomato Cages or Stakes: Tomato cages work pretty well on most tomato plants but can also be expensive. Wooden, bamboo or even fiberglass stakes, using either rope/string and/or Velcro material can also be used with some success. .
- Limb/Garden Pruners: Having a good pair of garden pruners is a must.
- Trellis: Need to ensure you have some type of trellis material to allow plants, especially those that vine, to grow vertically and keep the produce off the ground. I’ve used cut-up 16’ cattle panels, or 16’ cattle panels sitting in between two raised beds (like an arch) or you can buy metal trellis structures that will work as well.
- Forks: This is a must have tool and goes a long way when amending your soil and keeping your soil loose and friable. [amazon link]
- Organic Pesticides: Neem Oil and BT are two organic pesticides that are applied the same but are used in different ways. BT is a bacterium that will kill caterpillars in 2 to 3 days after applied. I use this on pests like cabbage worms. Neem Oil is kind of a general use pesticide that doesn’t work like strong pesticides would work (like Sevin Dust) but will help keep pests at bay.
- Organic Fertilizers: Neptune’s seaweed and kelp organic fertilizer is a good product. Another organic fertilizer I’ve use is GS Foods Organic Fish and Kelp. I also use Azomite Rock Dust as a supplement for micro-nutrients. Finally, as a root stimulator I like to use Bloom City’s Root Stimulator. I use each of these products and am very happy with them.
I have this and all of the garden tools and supplies I use over at my Amazon Storefront. Click over there and check that out. It will save you a ton of time.
The video covering this topic and more can be found at:
You will be light years ahead as you have reviewed this Spring Garden planning checklist and made sure you have everything you need to make your Spring Garden a success!
Thanks,
Darrell Ferguson
Louisiana Simple Living

Leave a Reply